Two Food Lovers in Love (OUR WEDDING!)
Anthony and I love food. We love to cook, we love to eat, and most importantly we love to sit across the table with those that we hold dear and share a meal. (Sharing a meal is different than the simple act of "eating", but that discussion is for another time). If you ask Anthony the way to his heart, he probably wouldn't say "through my stomach" because he's pretty romantic and I think I have other qualities he would list before my cooking. But, he would definitely agree that a mutual appreciation for cooking and eating good food was a huge building block of our relationship. We made pizza together on our second date! Our love for all things food has led us on many journeys together; amazing dinner dates, the perpetual hunt for new eateries, the food blog, and some memorable cooking disasters, just to name a few.
So when it came time to talk about the feel of our wedding, we both agreed immediately that we couldn't skimp on the food, and a fantastic farm-to-table caterer was a must. We eventually settled on Season to Taste, and it was one of the best vendor decisions we made! As one vendor after another started to fall into place, so did the feel and theme of the whole event. The focus would be on sharing a meal, and in general, the idea that "food is love". In keeping with the KE Events model, our stationery would start to tell that story, and then the details and decor on the day of would tie it all together.
We started things off with a postcard Save the Date that looked like a recipe for a good time!
![_MG_1548[1]](http://static1.squarespace.com/static/5612e4dde4b0b9b281e9597a/5612e574e4b0eb177eab2086/5612e582e4b0eb177eab2418/1444078978543/mg_15481.jpg?format=original)
* E X P E R T * T I P *
A great way to save money is to do a postcard -- it's $.15 less postage per card, and the envelope is another $.25 to $.50 depending on size. We sent 200 of these bad boys, so by sending a postcard, we saved $100!
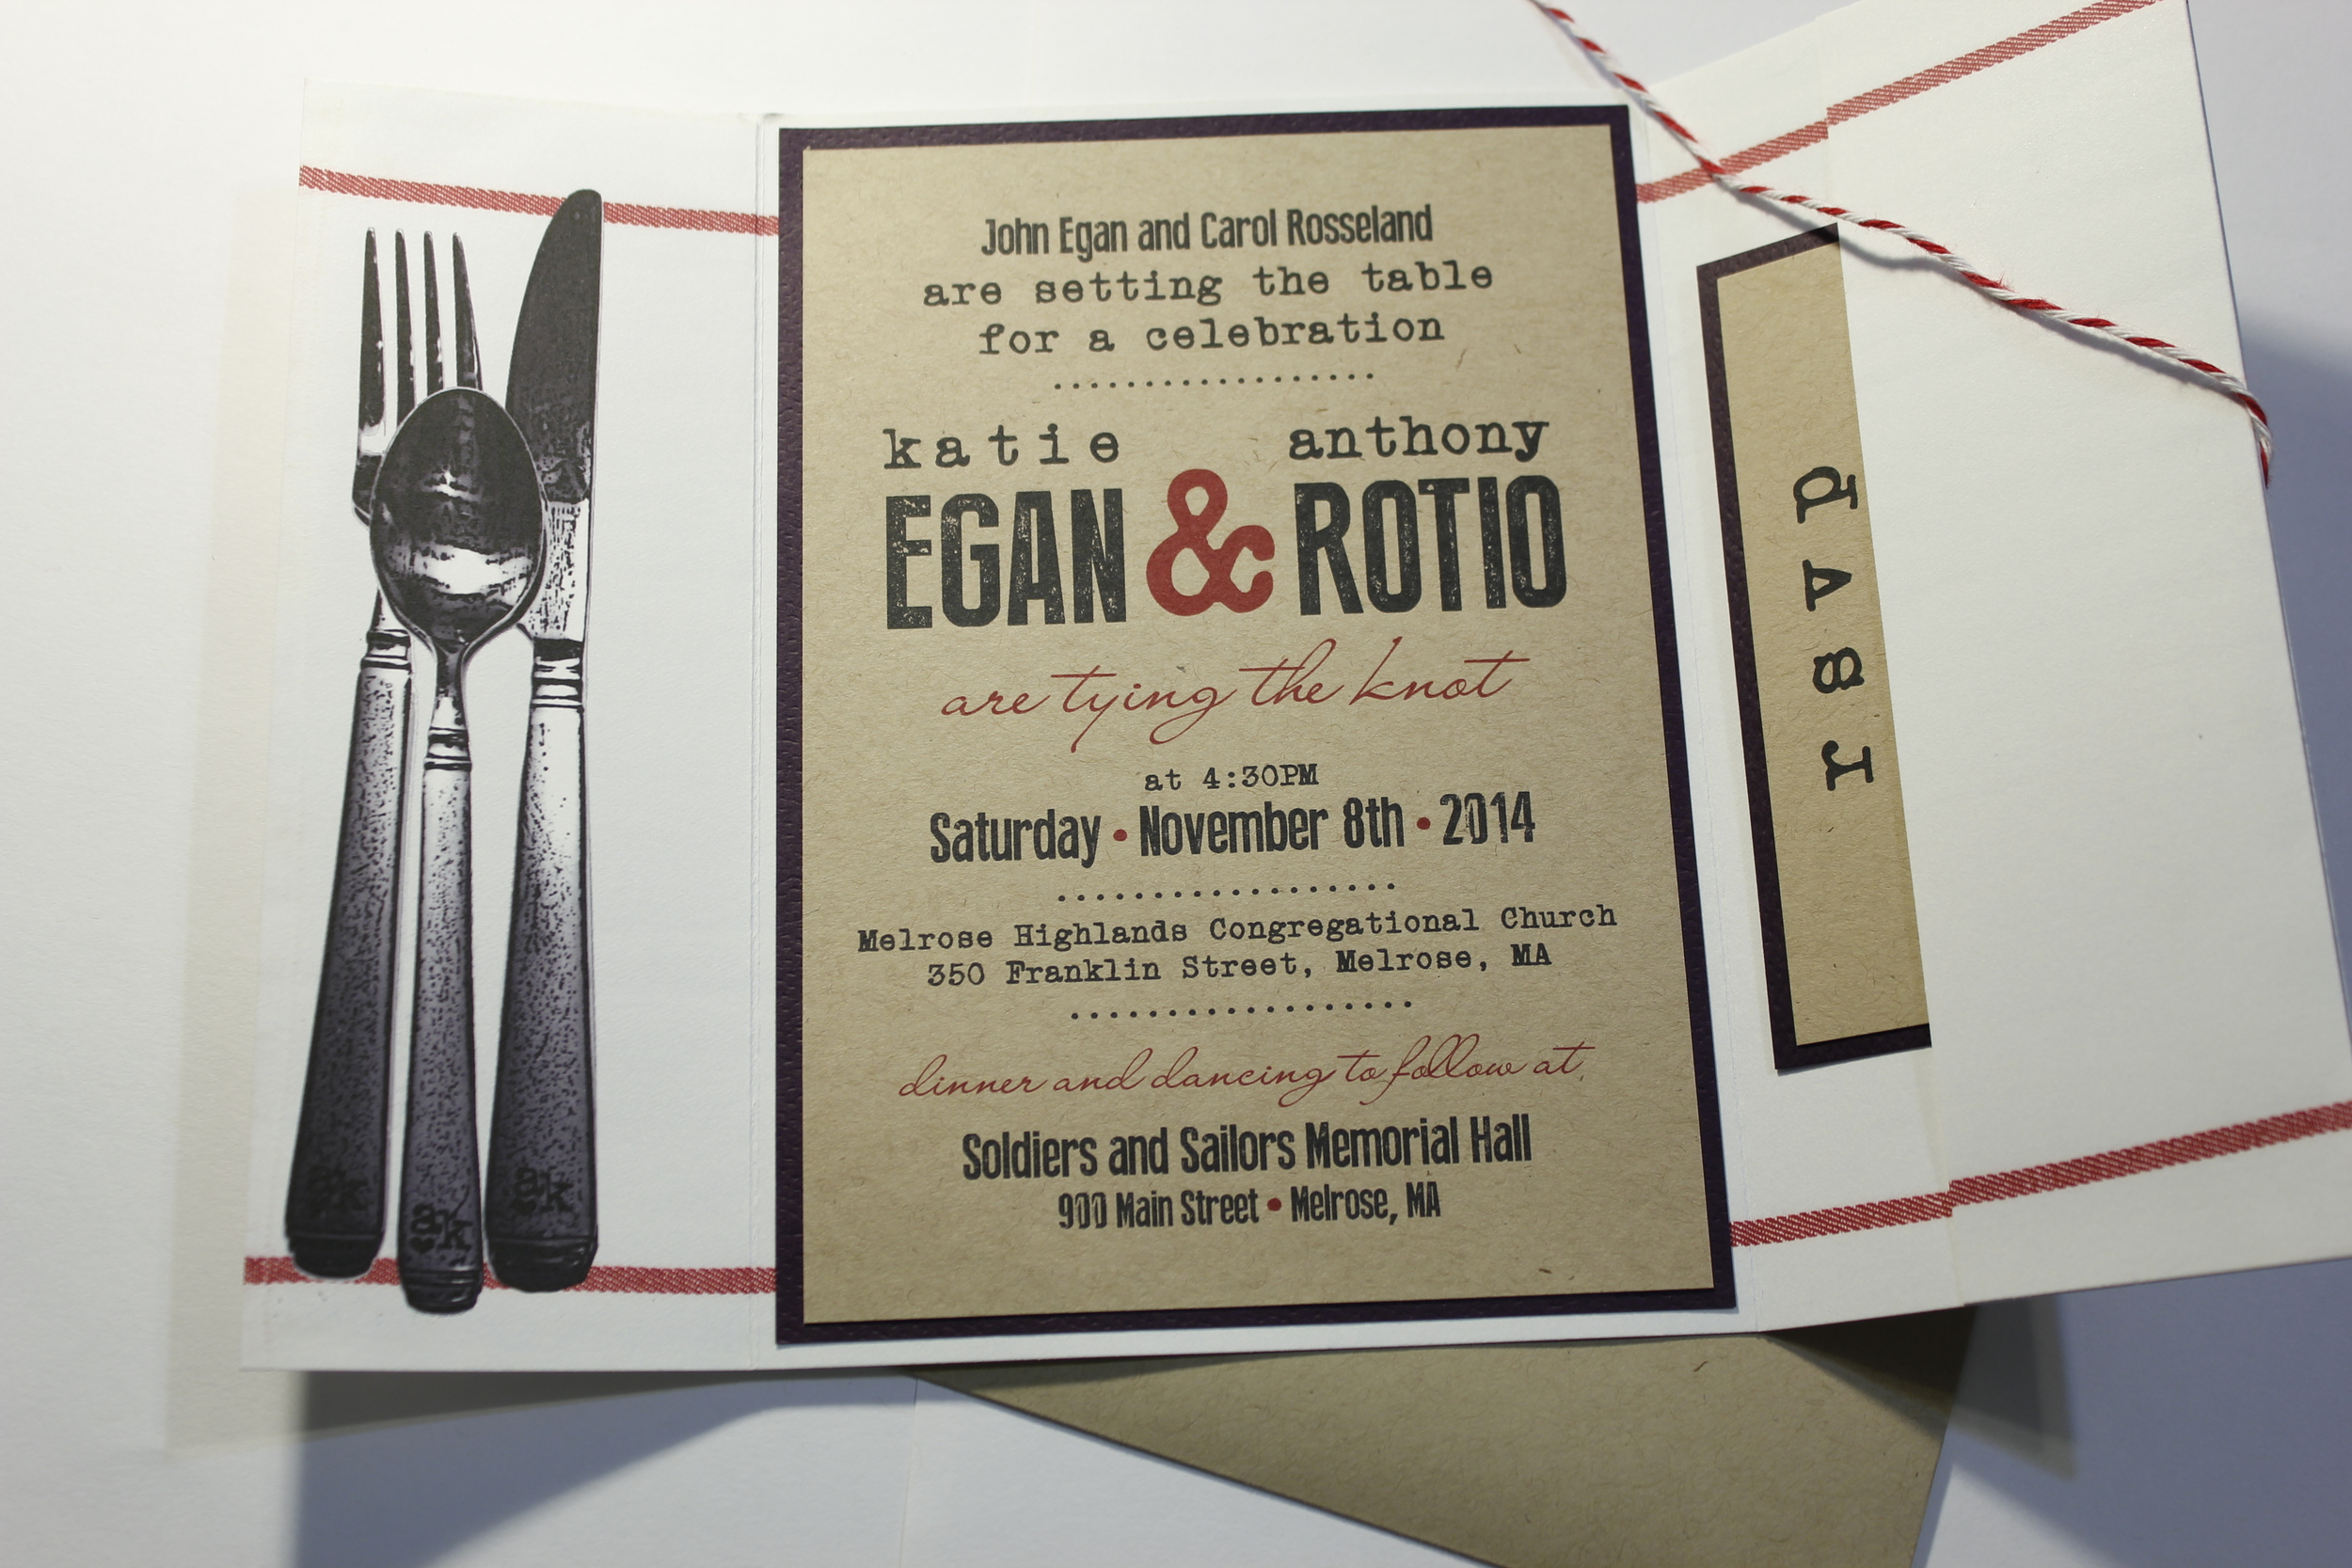
When it came time to design our invitations, I stuck with the theme, and tied in the red striped tea towels we would be using for our table settings.

Anthony designed a beautiful website that matched all our stationery (he built the website, I created the content) and we accepted RSVPs online.

* E X P E R T * T I P *
Accepting RSVPs online is a fantastic way to use modern technology to make your wedding consumed life easier. Again, you save at least $1.00 per invitation (postage and envelope for returned RSVP cards). But more importantly, it's easier for you AND your guests. You automatically collect all your responses in one place that you can access from anywhere, and your guests can RSVP from their smart phone--no trip to the post office! We used a google form to collect ours, but many of the wedding websites out there now have online RSVPs included in their website templates. I can't recommend it enough! (If you hire KEEvents for planning and coordination, we even offer a free custom website with online RSVP as part of the package!)
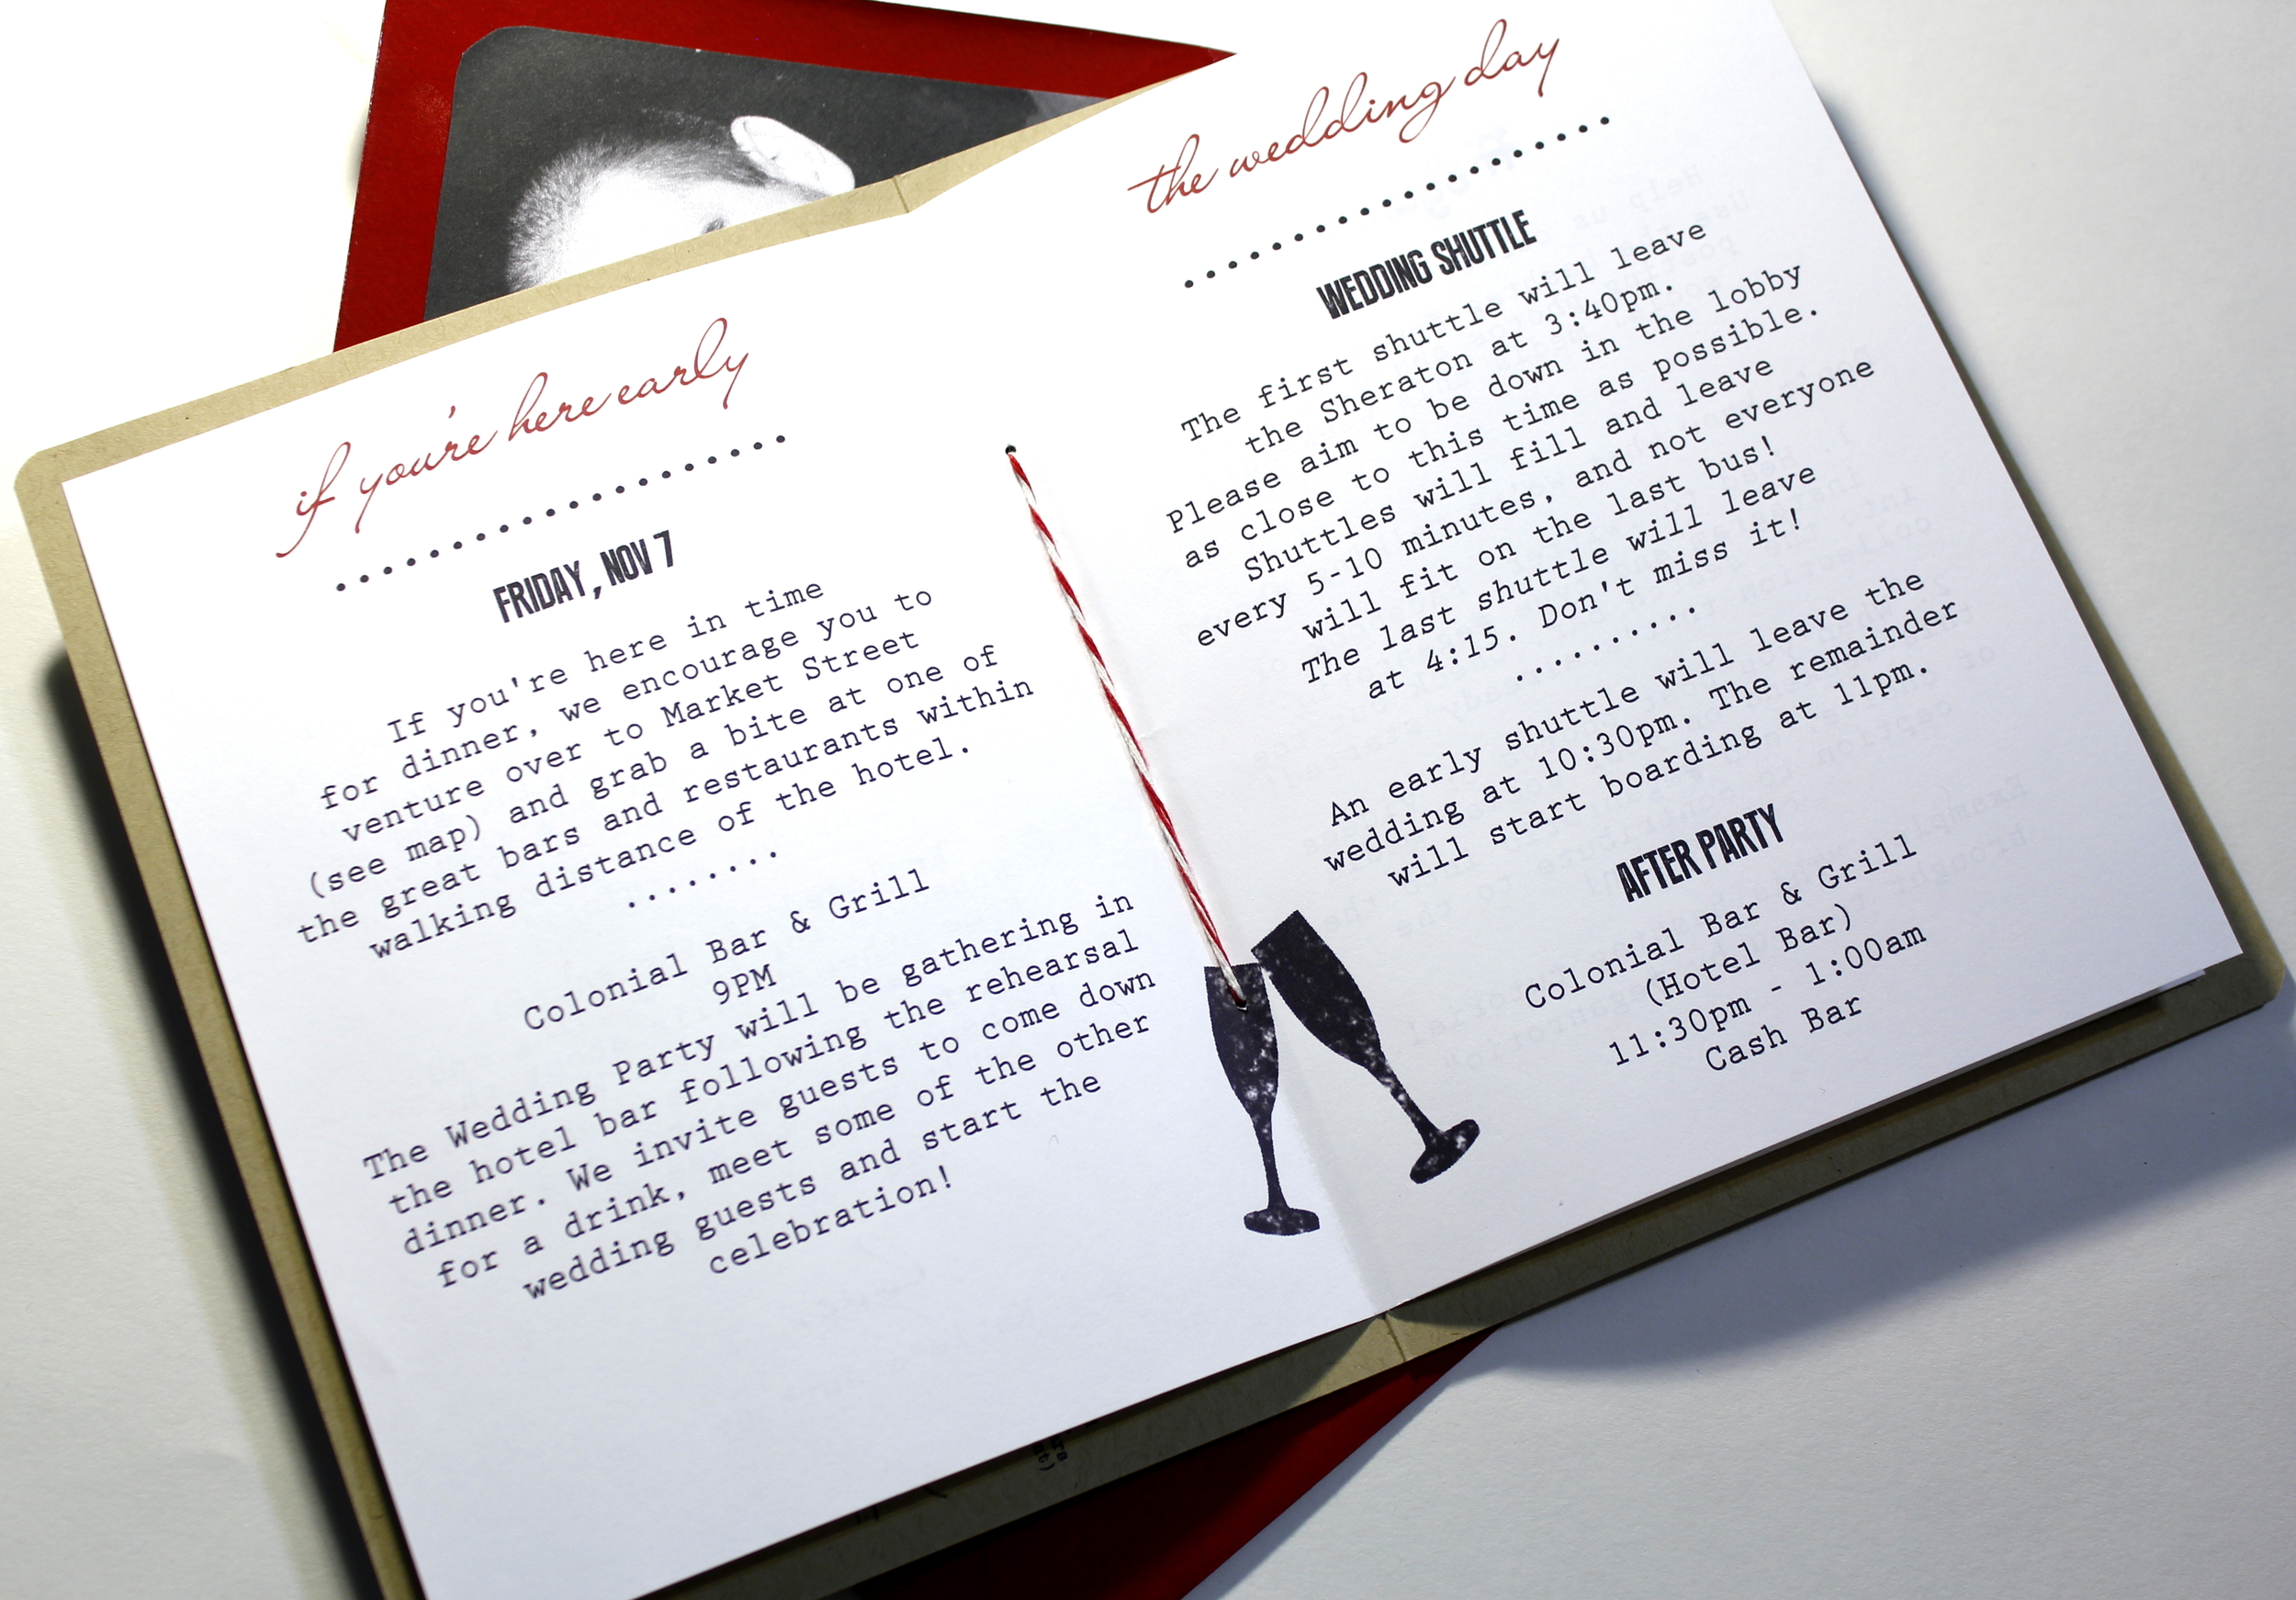
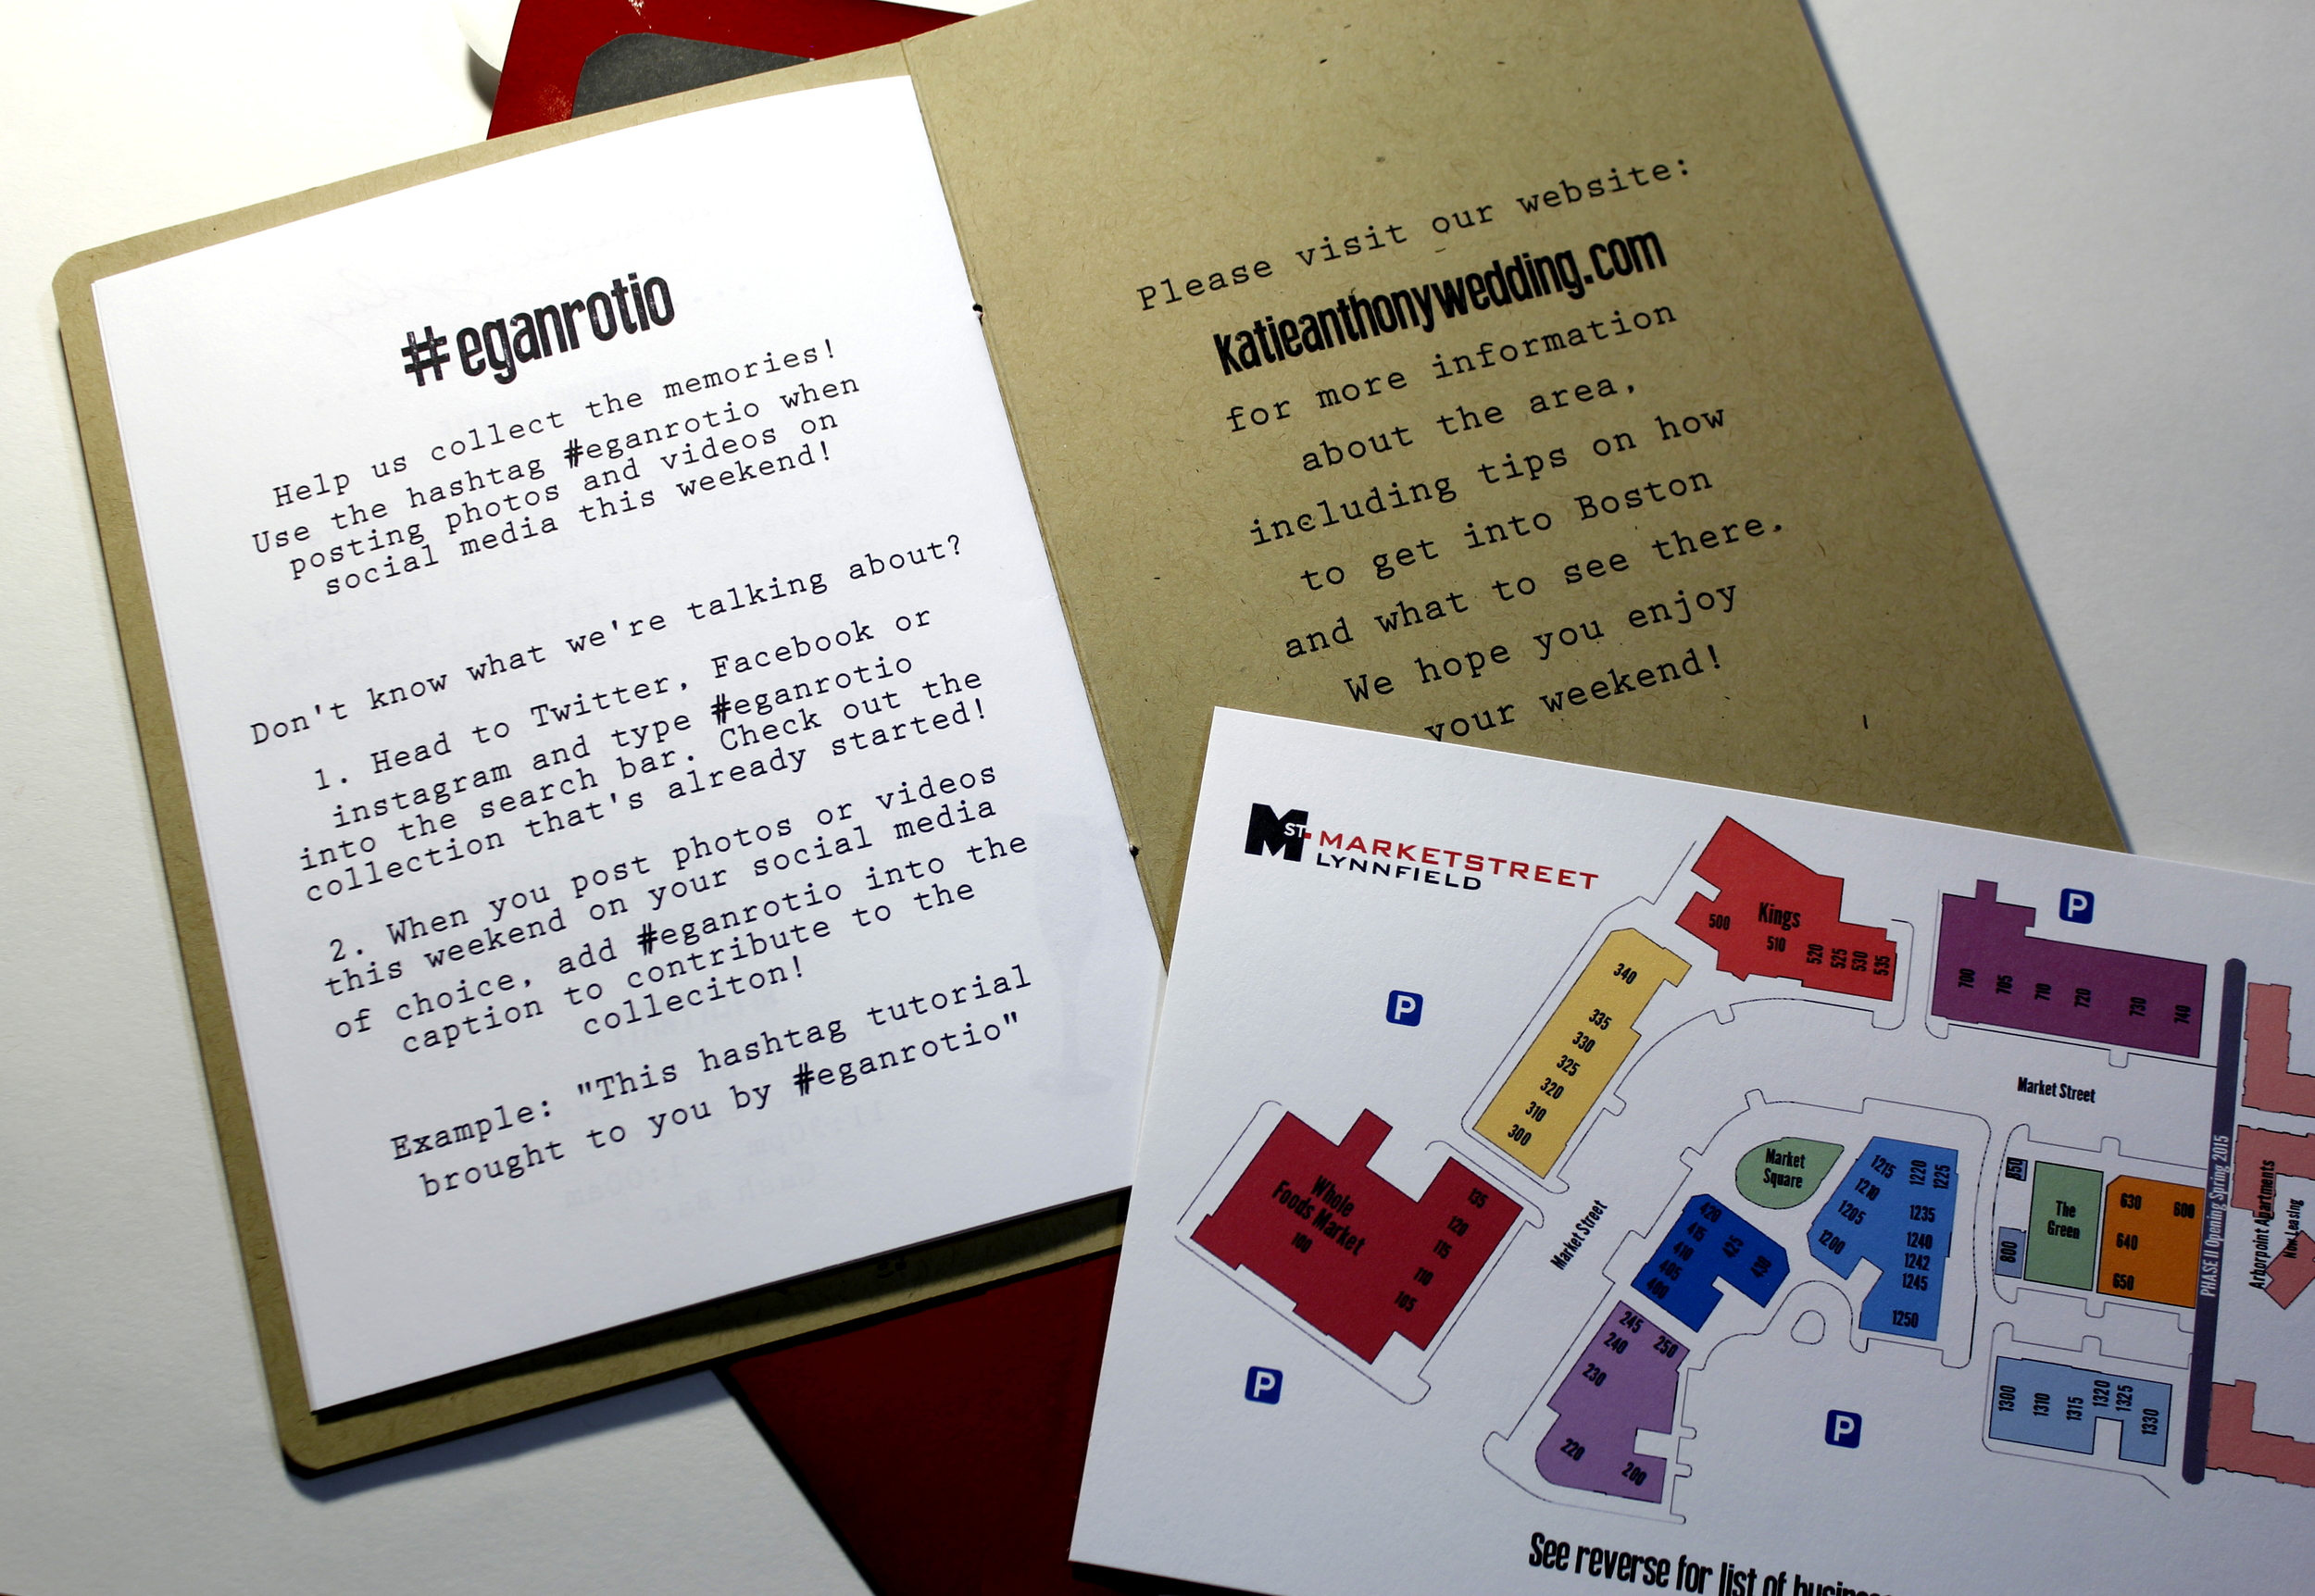
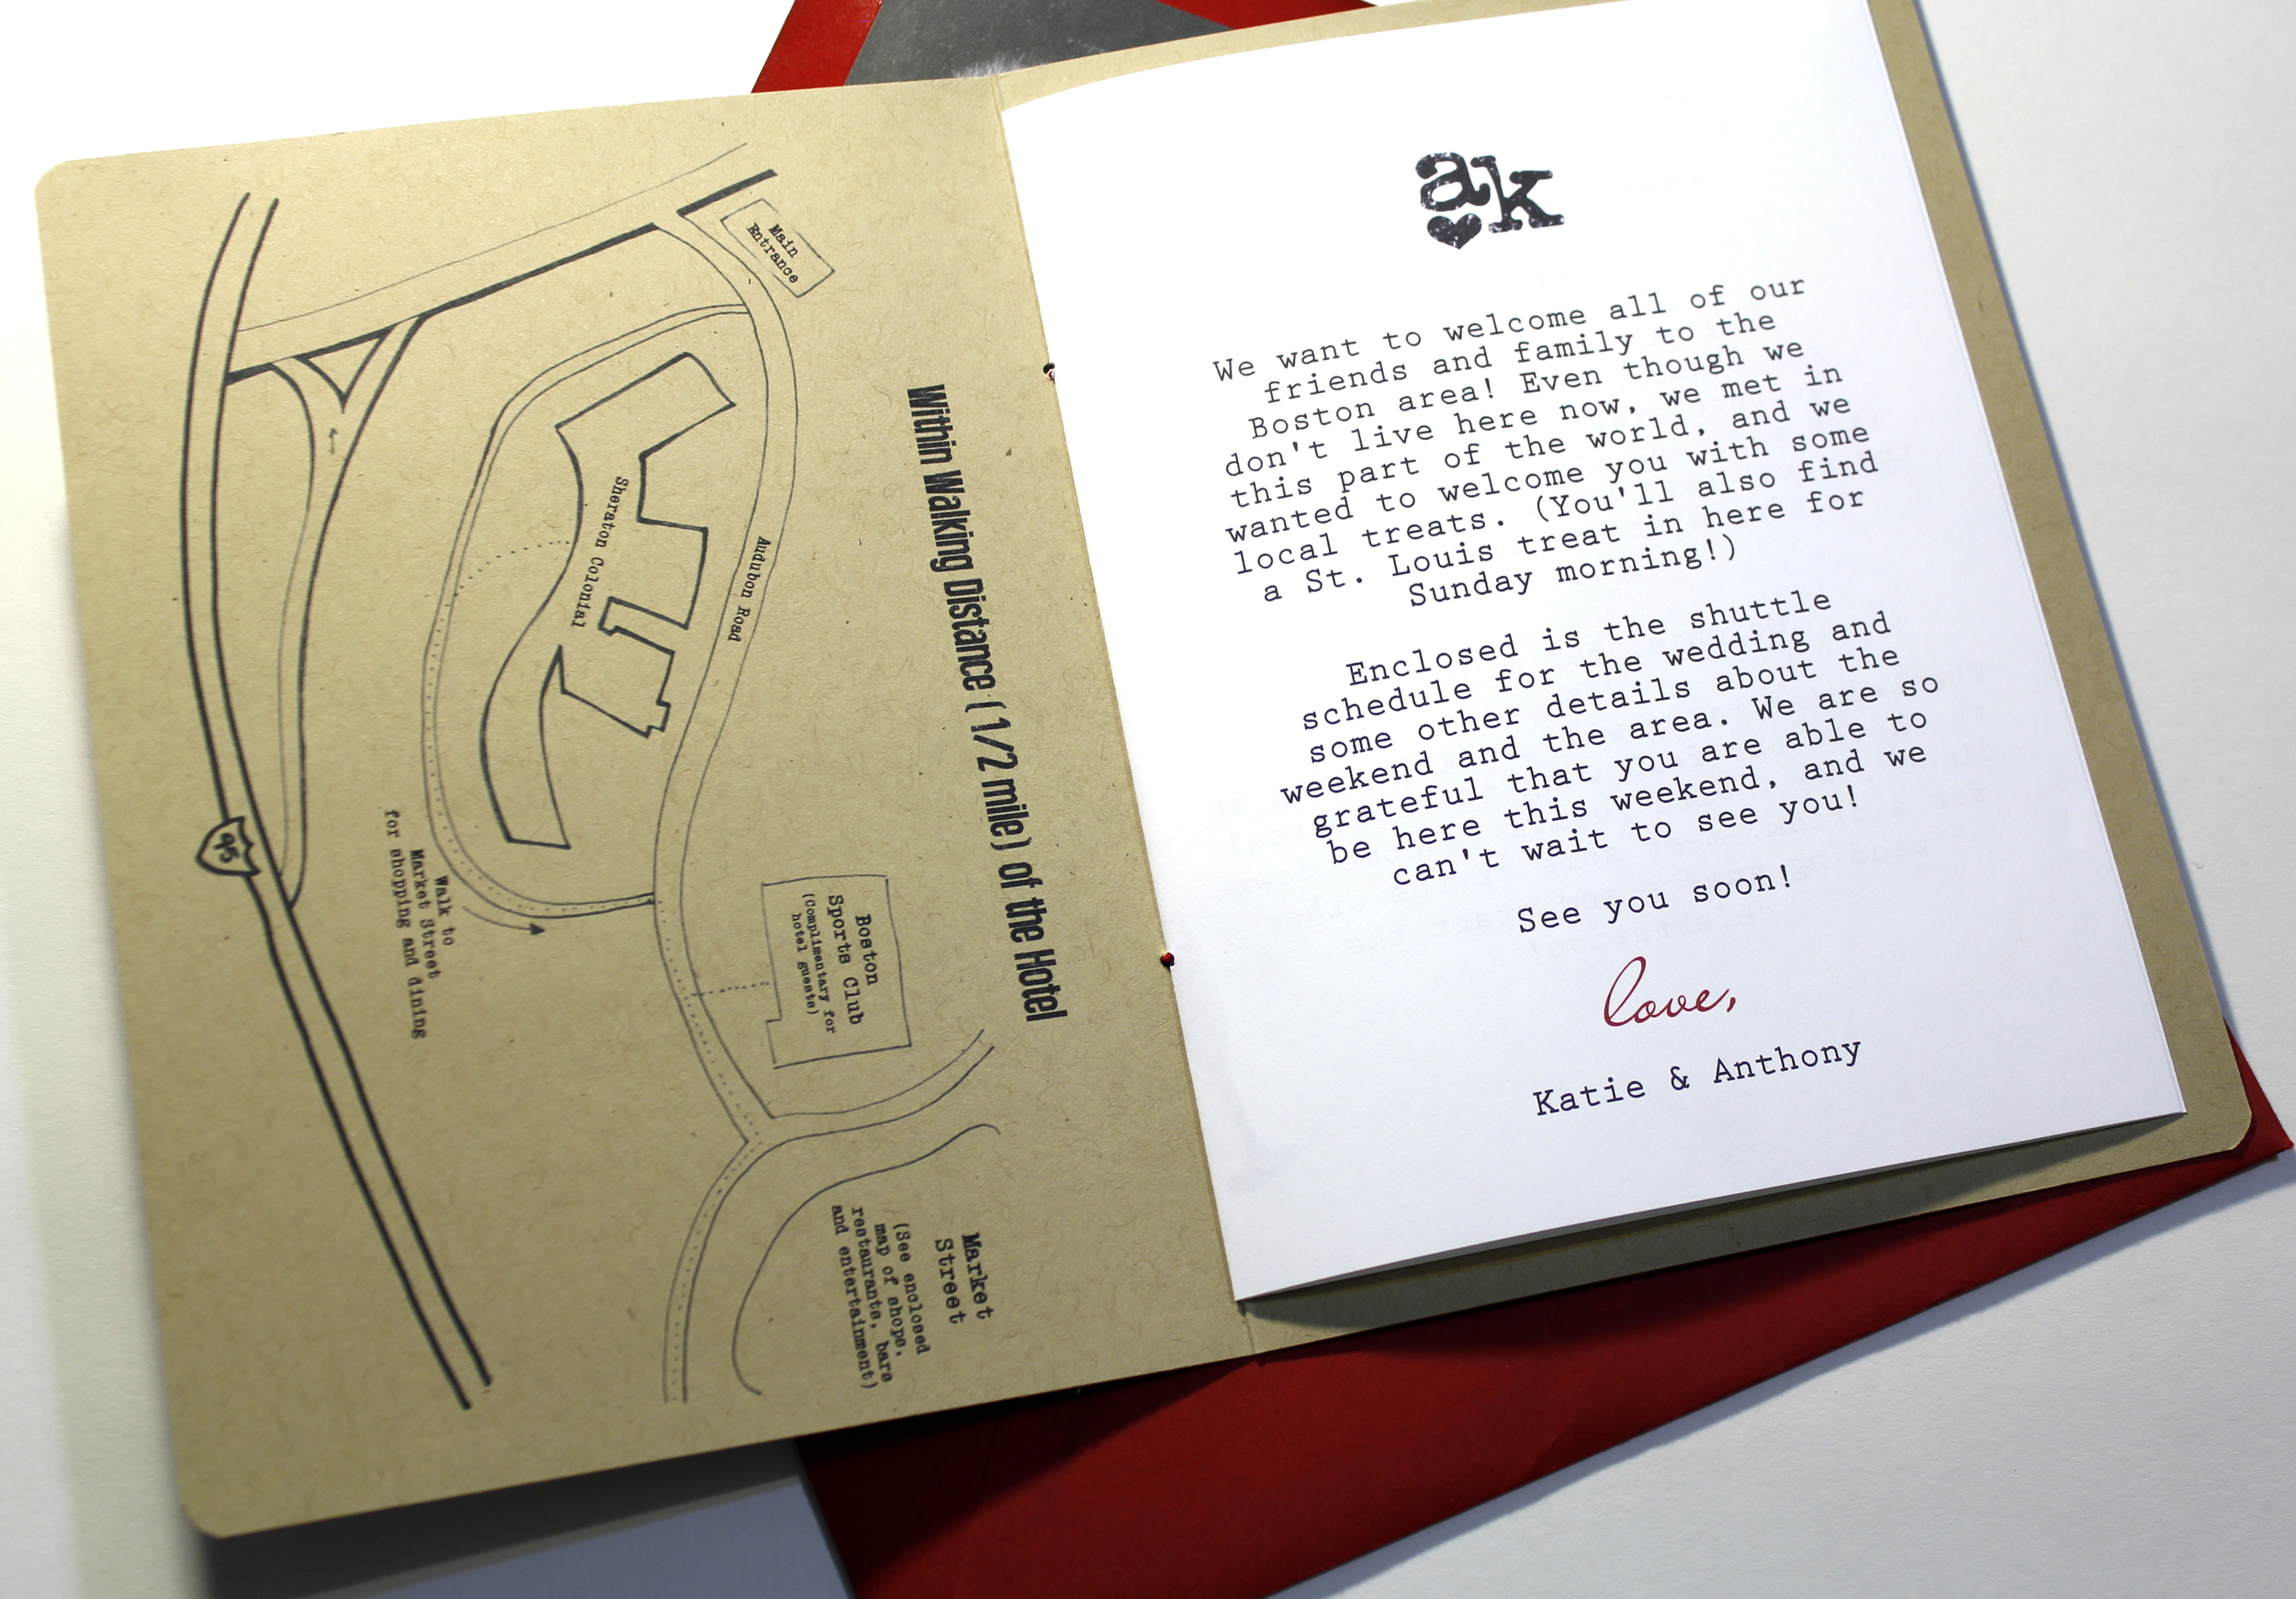
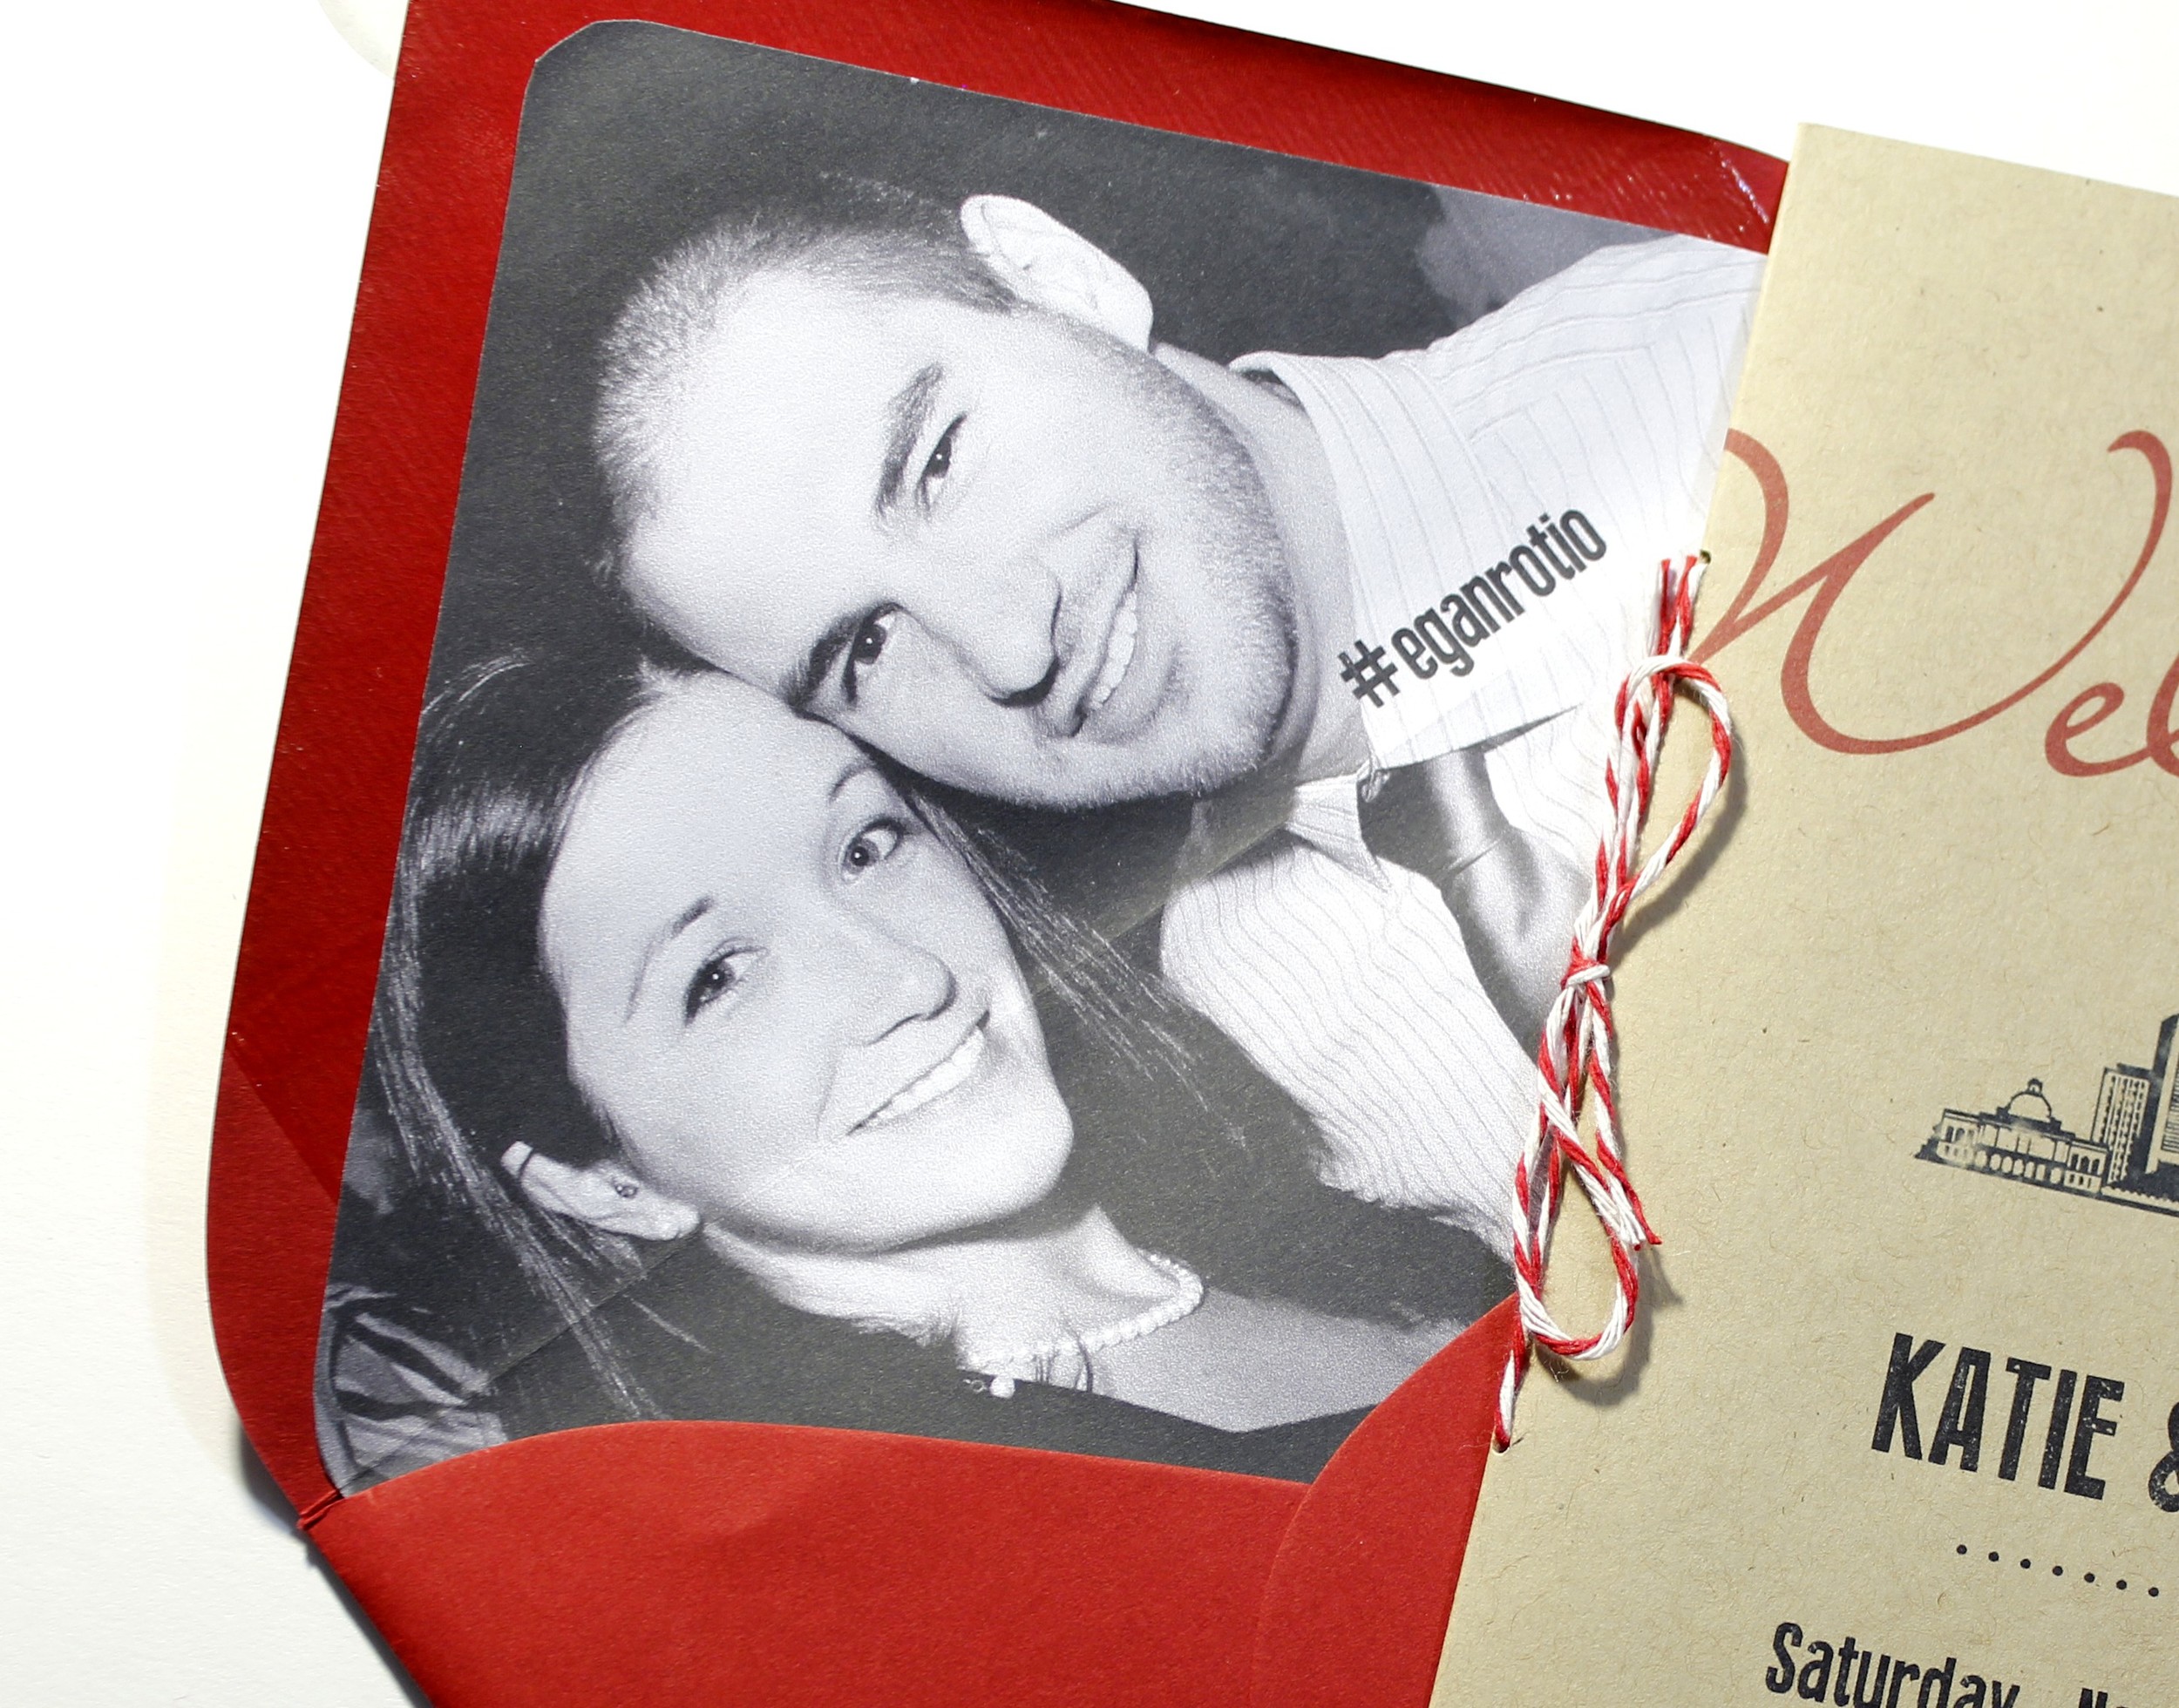
When our out of town guests arrived at the hotel, we had prepared some goodie bags to welcome them. Inside was a little booklet I created with some information about the wedding and the area, complete with two maps and an explanation of what the heck a #hashtag is! (Click to see full size images)
* E X P E R T * T I P *
A Welcome goodie bag is certainly not a necessity for your wedding. It does add work, and some cost, and if your budget is tight it's an easy thing to skip. However, it's a nice thing to consider if you have a lot of guests coming in from out of town. We had over 150 people staying at the hotel, many of whom had traveled quite a distance to be with us and share in our day. My mom was a big proponent of the bags, and I wasn't about to argue. It's a nice thing to provide for your guests, but it also provides you with another way to communicate important information for your guests. Our little booklet included a personal note, the schedule for the weekend, wedding shuttle details and a tutorial on #hashtagging (for the older folks!)
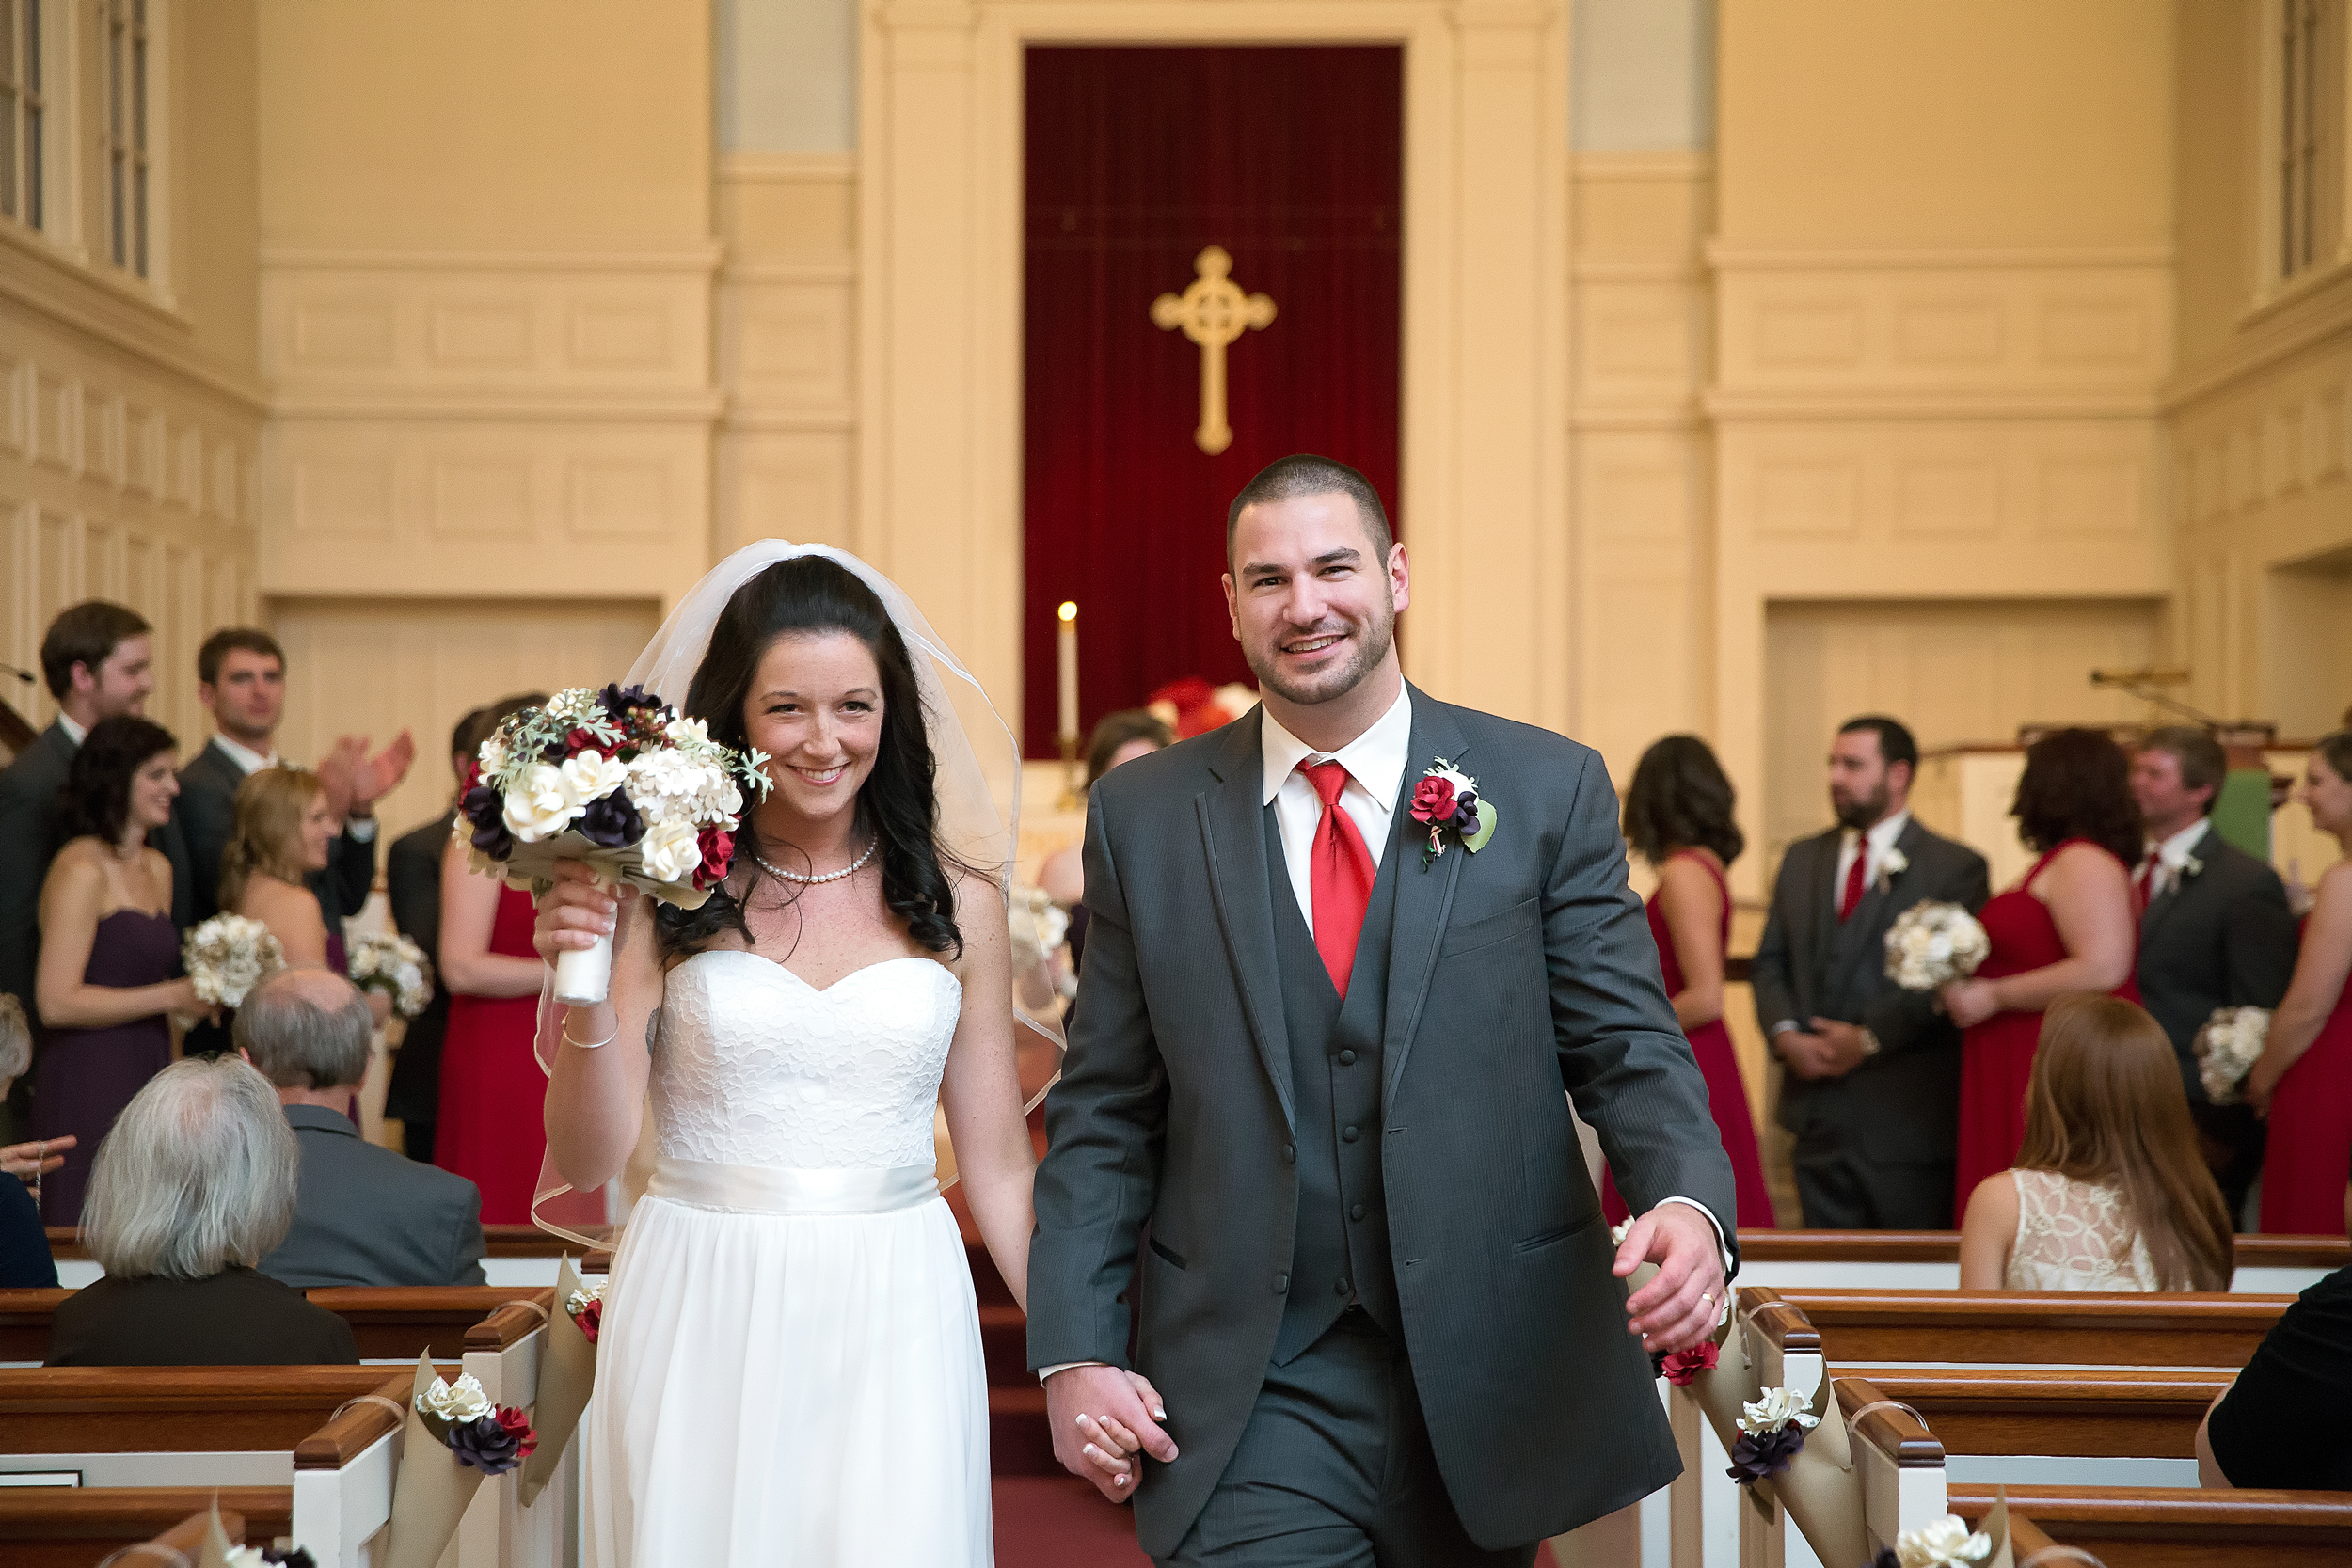
We got married at the church I grew up in, Melrose Highlands Congregational Church. The ceremony was so special to us. It included a poem written by my cousin and a song written and sung by some of my closest friends. I didn't want a boring program!

The reception was held at Soldiers and Sailors Memorial Hall in Melrose, MA, which is an old utilitarian theater and event space that houses the Melrose Symphony Orchestra and Melrose Youth Ballet, along with many community events and a few weddings per year. The stage is where I performed in The Nutcracker for 8 Years as a child, it's right around the corner from my childhood home, and right in the center of my hometown. I personally didn't know anyone who had hosted a wedding there, and there were almost no photos online of the space set up for a wedding, so I was starting from scratch with decor ideas.
We went with long tables because I love the look, but also because I think they're better for conversation than the more traditional rounds. We did a family style dinner, and we wanted our guests to feel at home.
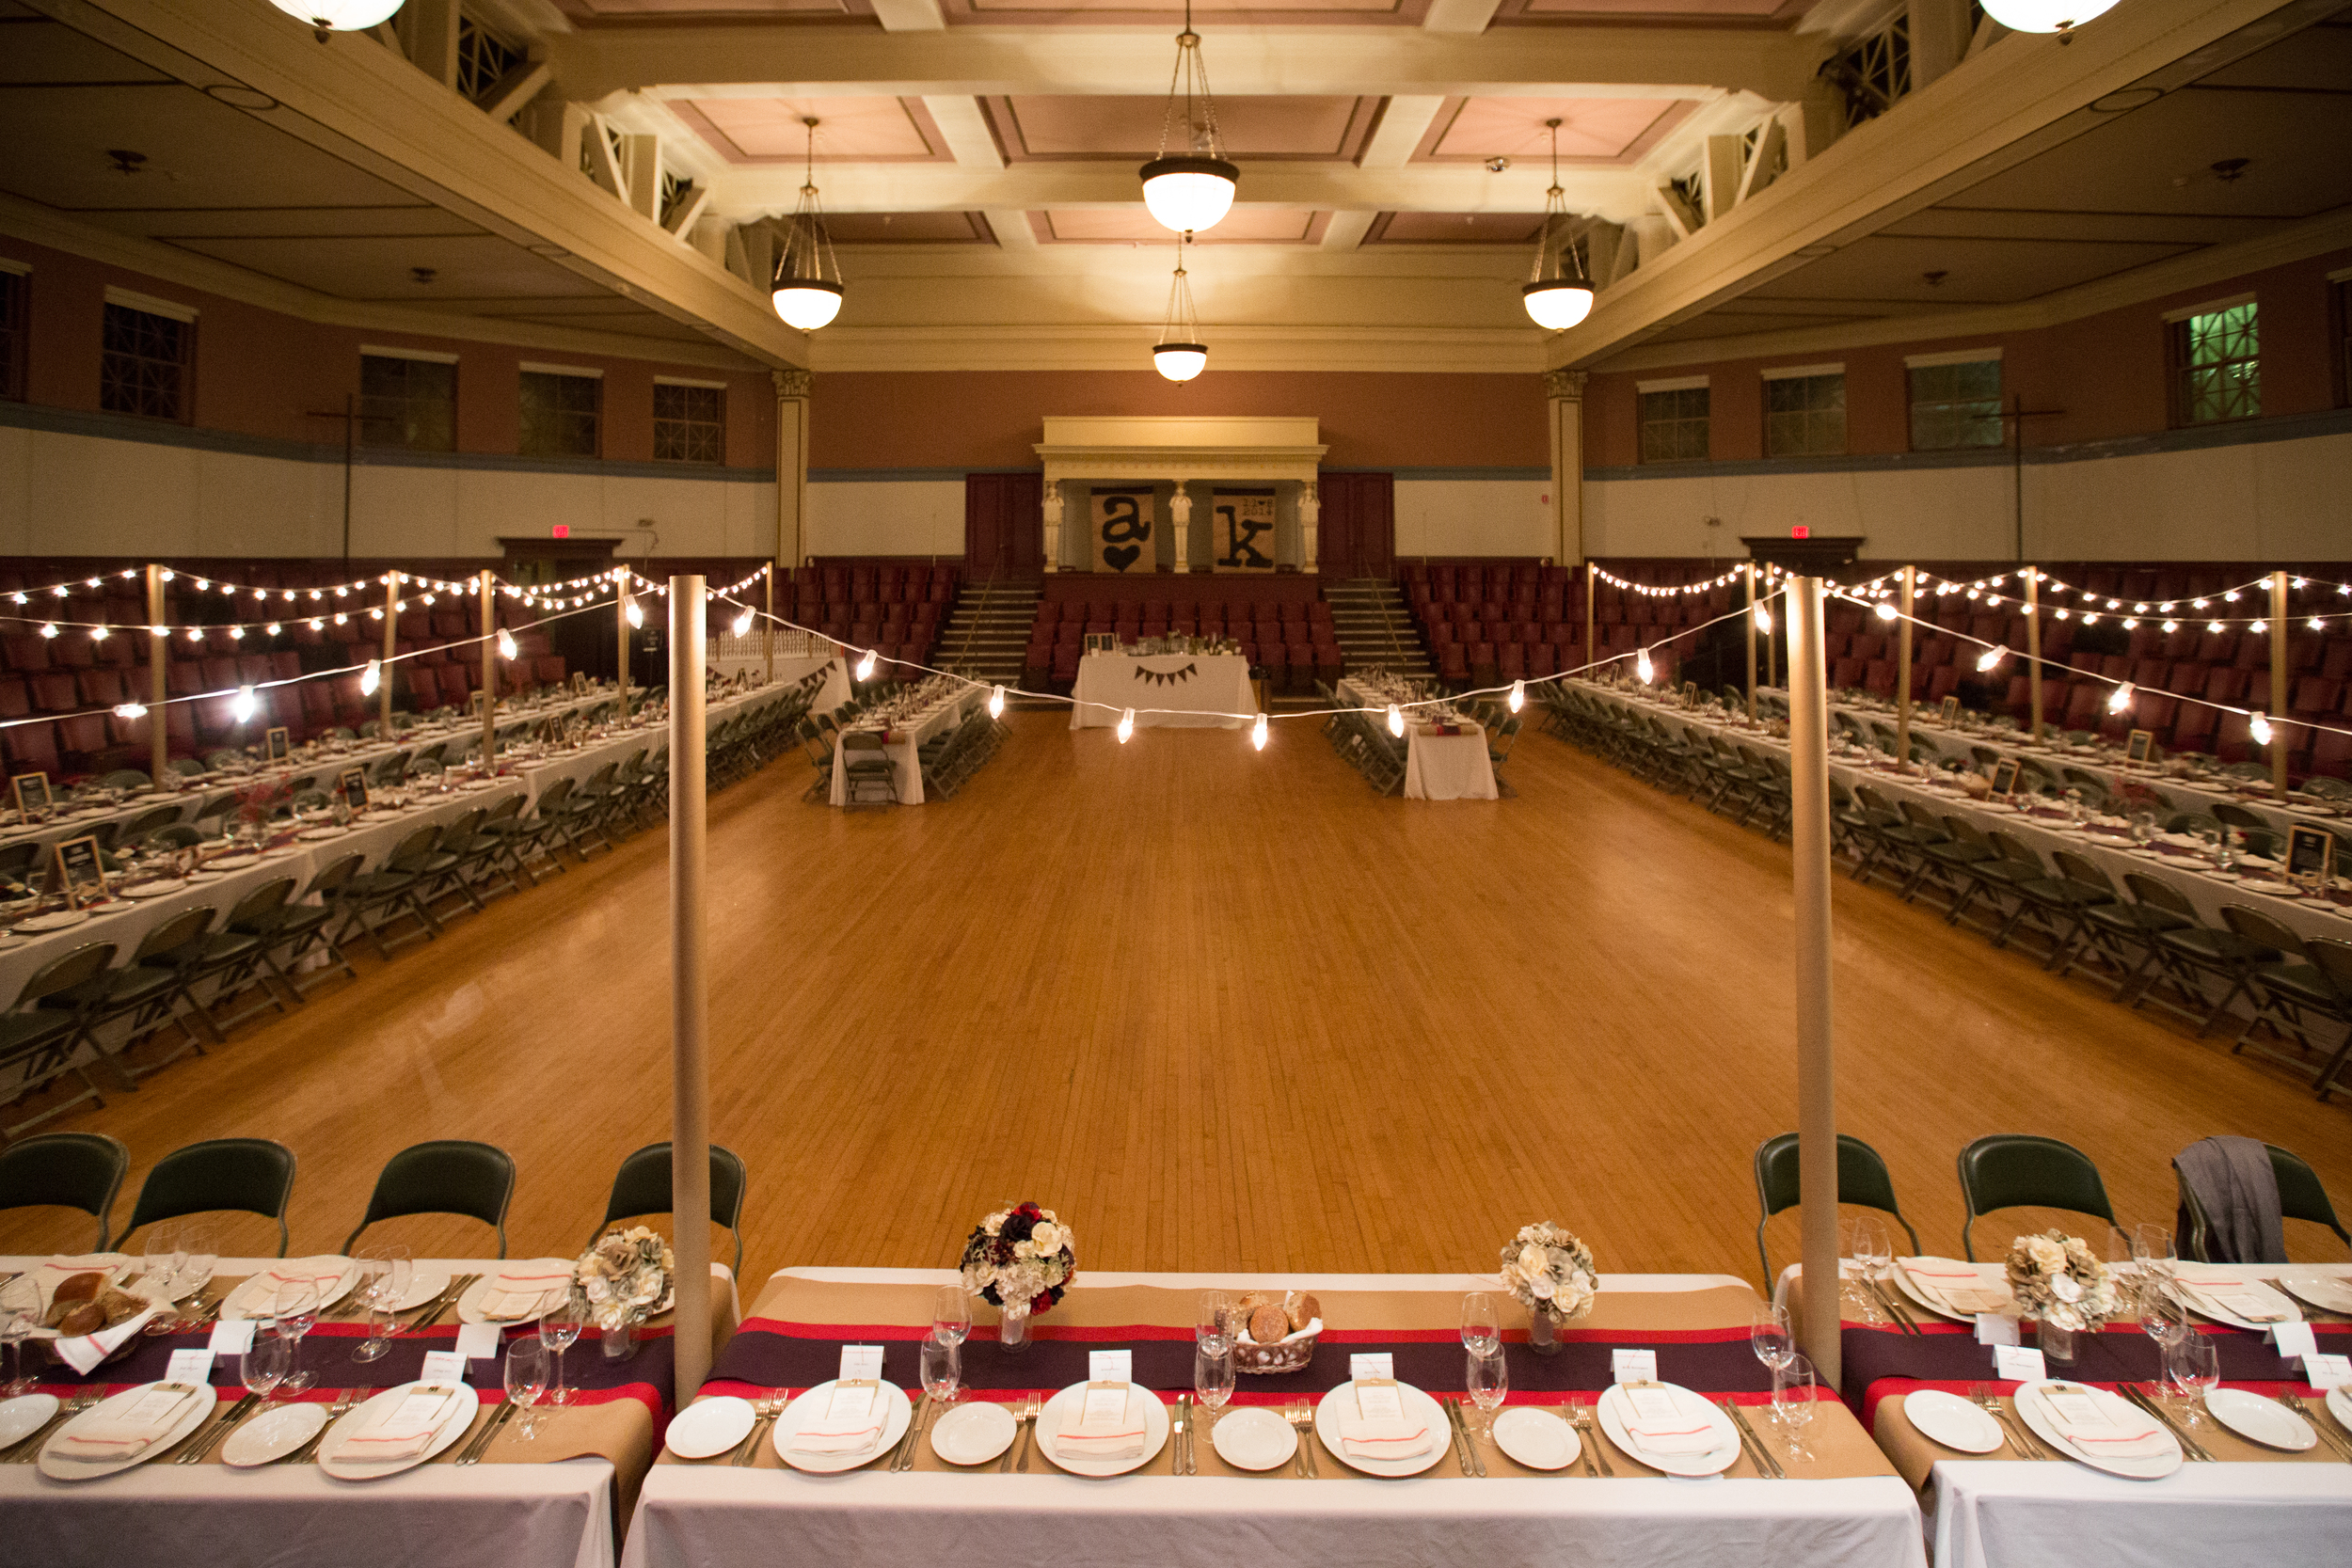

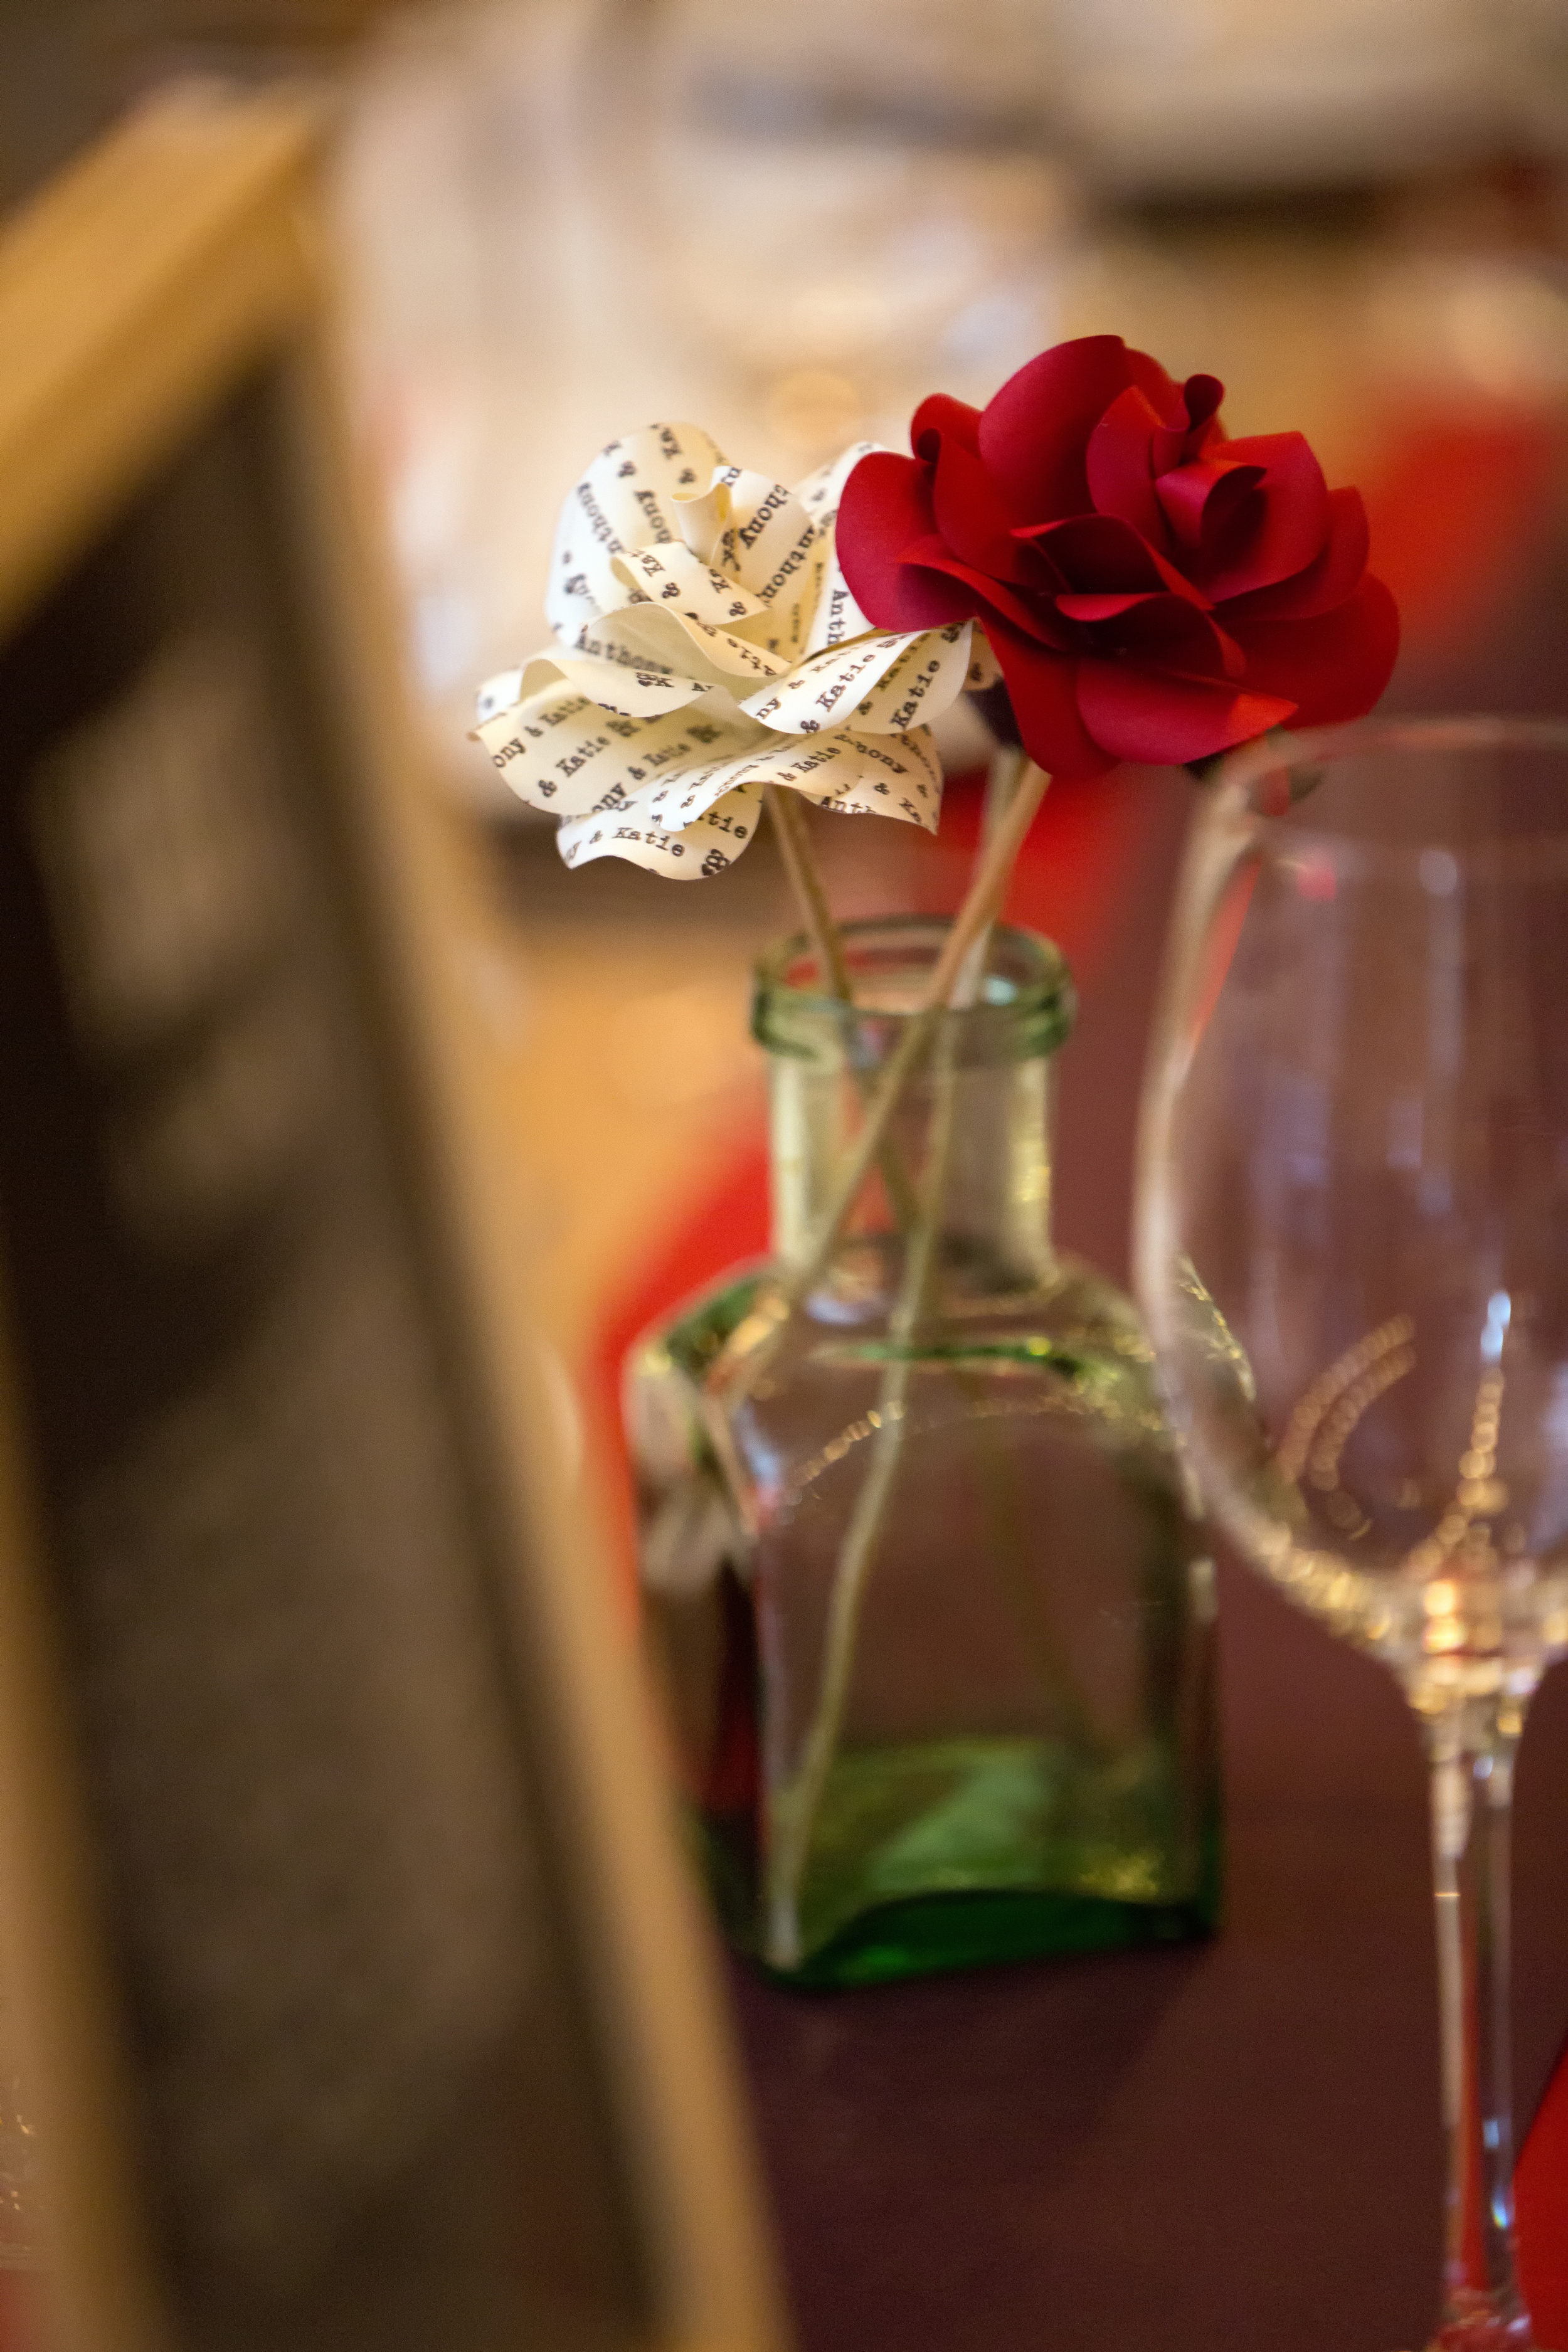
Each table was covered with white linen and a layered paper runner and decorated with simple paper roses in mis-matched jars and mason jars with fresh Maine winter berry. The bridesmaid bouquets were lined up down the length of the head table. The simple look worked to blend the rustic, farm-to-table meal with the grand, indoor, utilitarian space.

We weren't allowed to light real candles in the space, so my mom rigged up some stringed cafe lights to bring a cozy feel to the tables without any open flame.

To fill the old theater boxes at the back of the hall, I hand painted large banners that coordinated with the logo I had designed. Each was 4 feet wide by 6 feet tall:

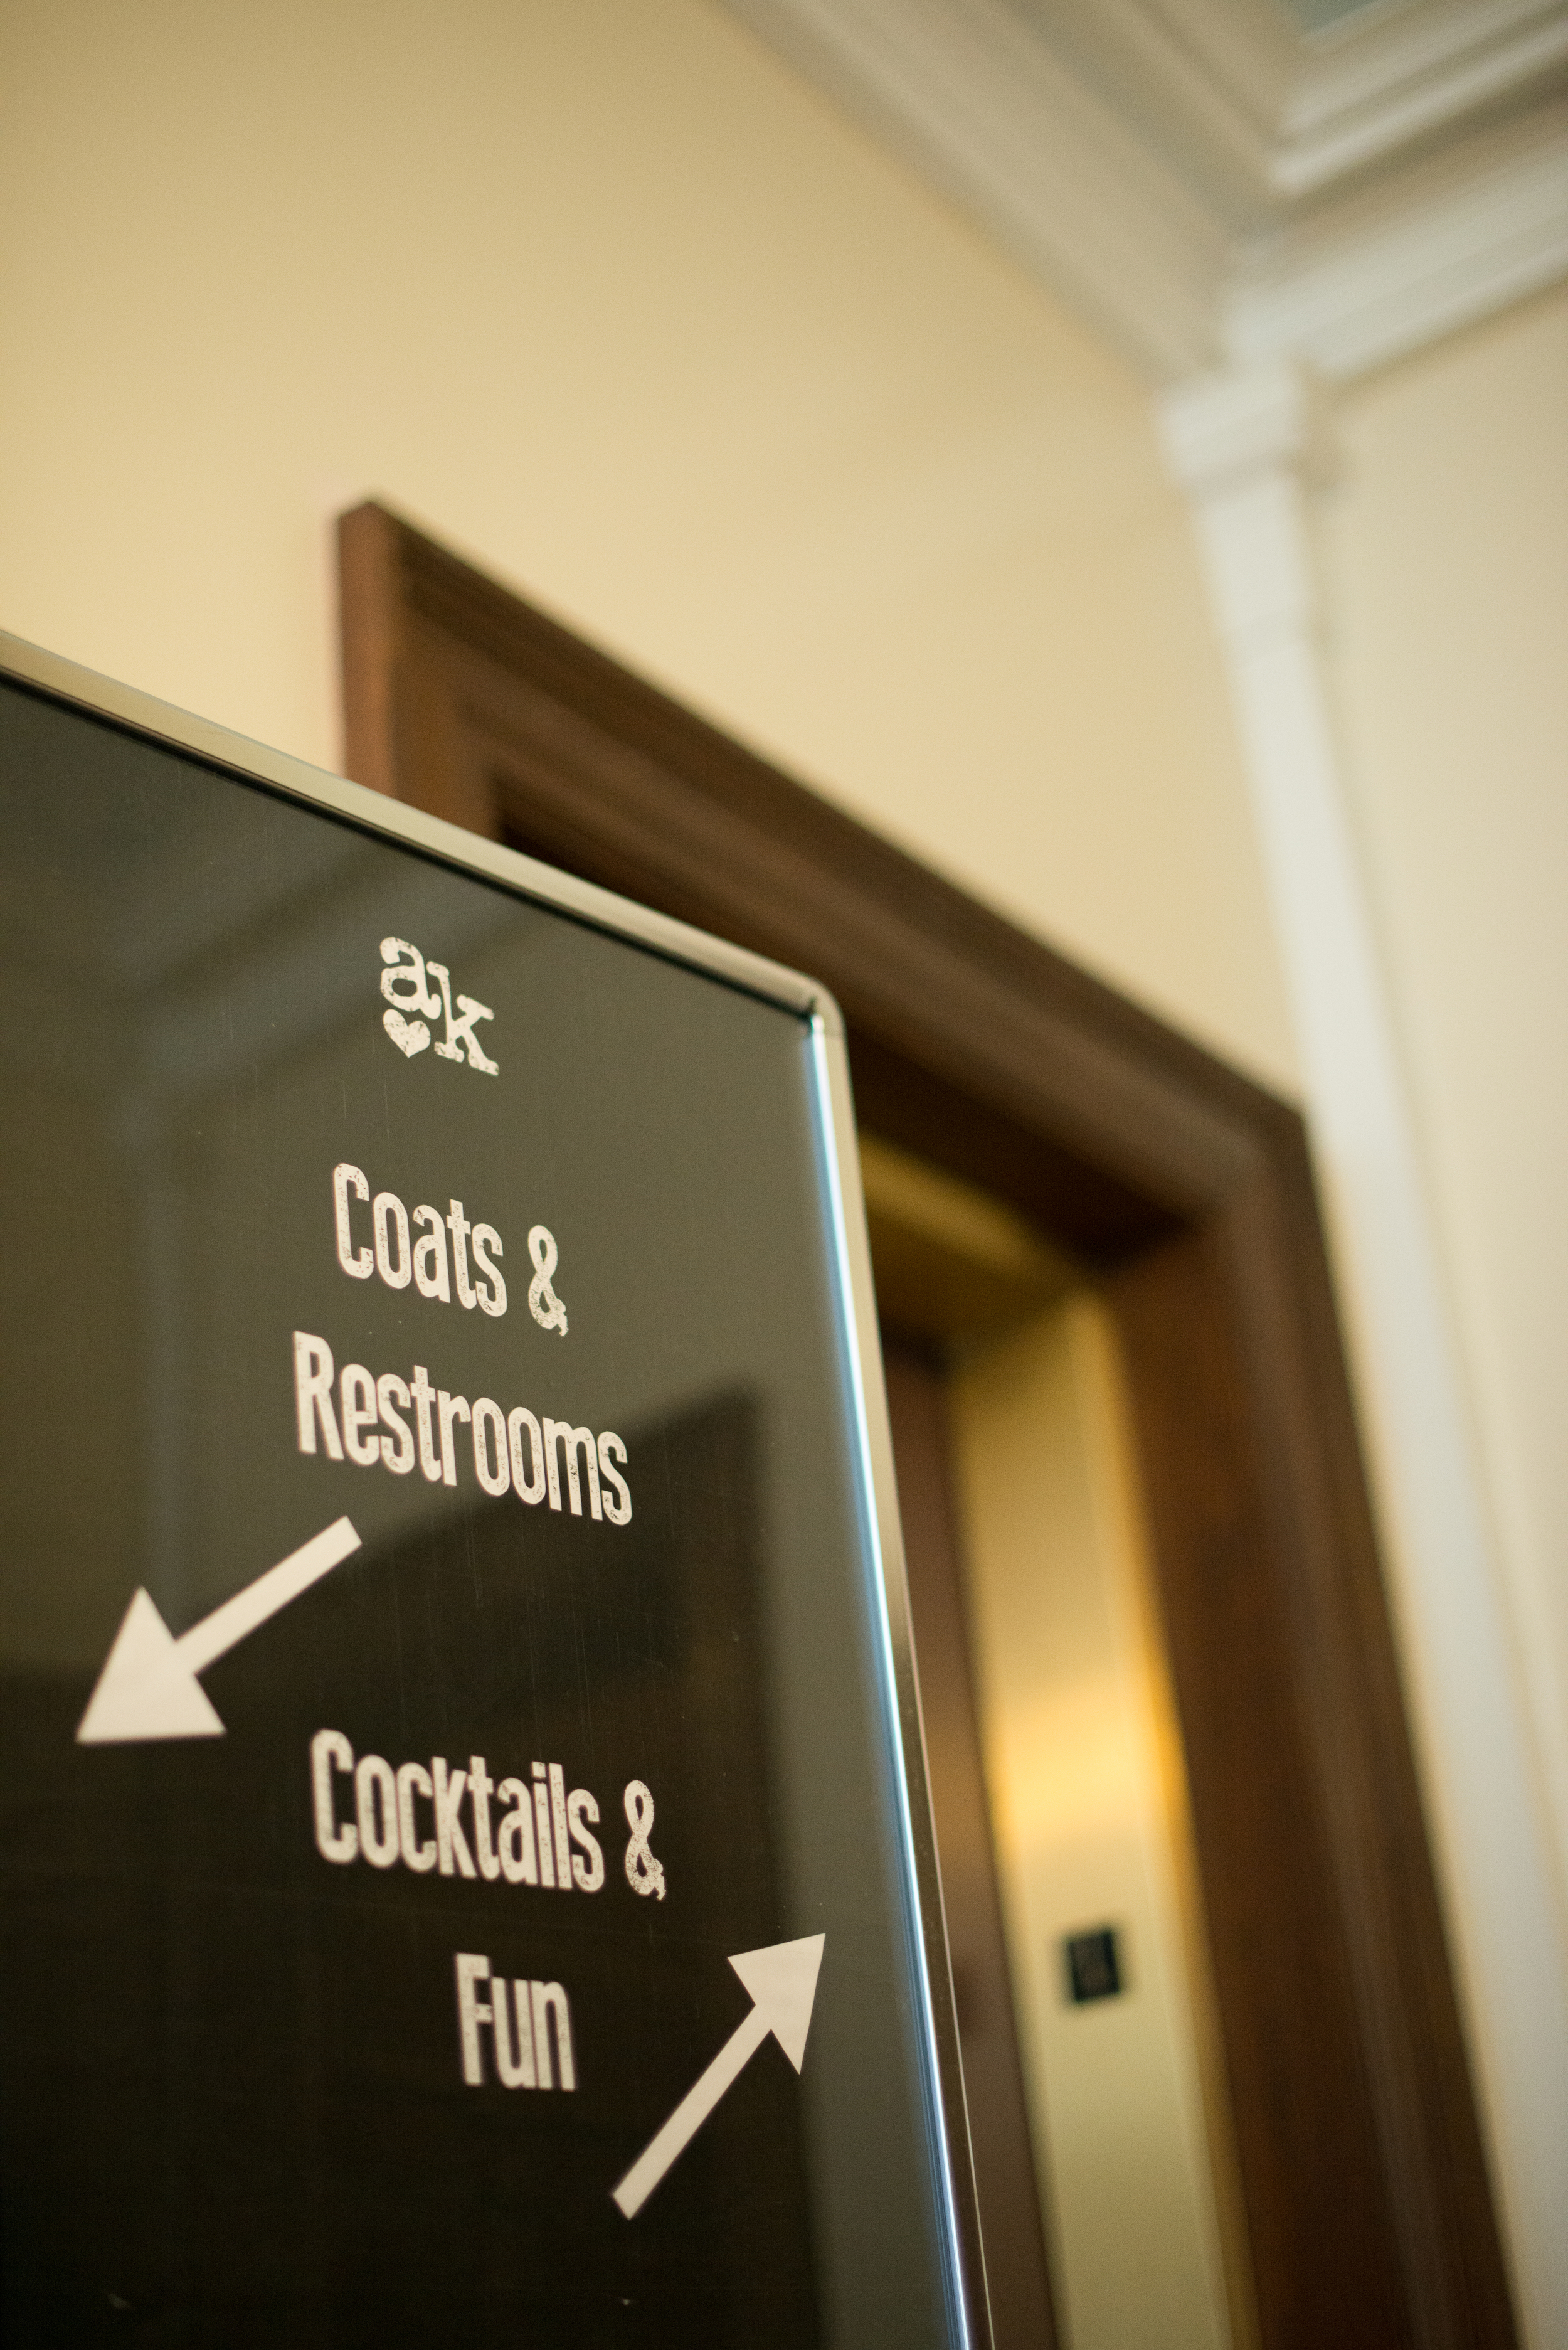
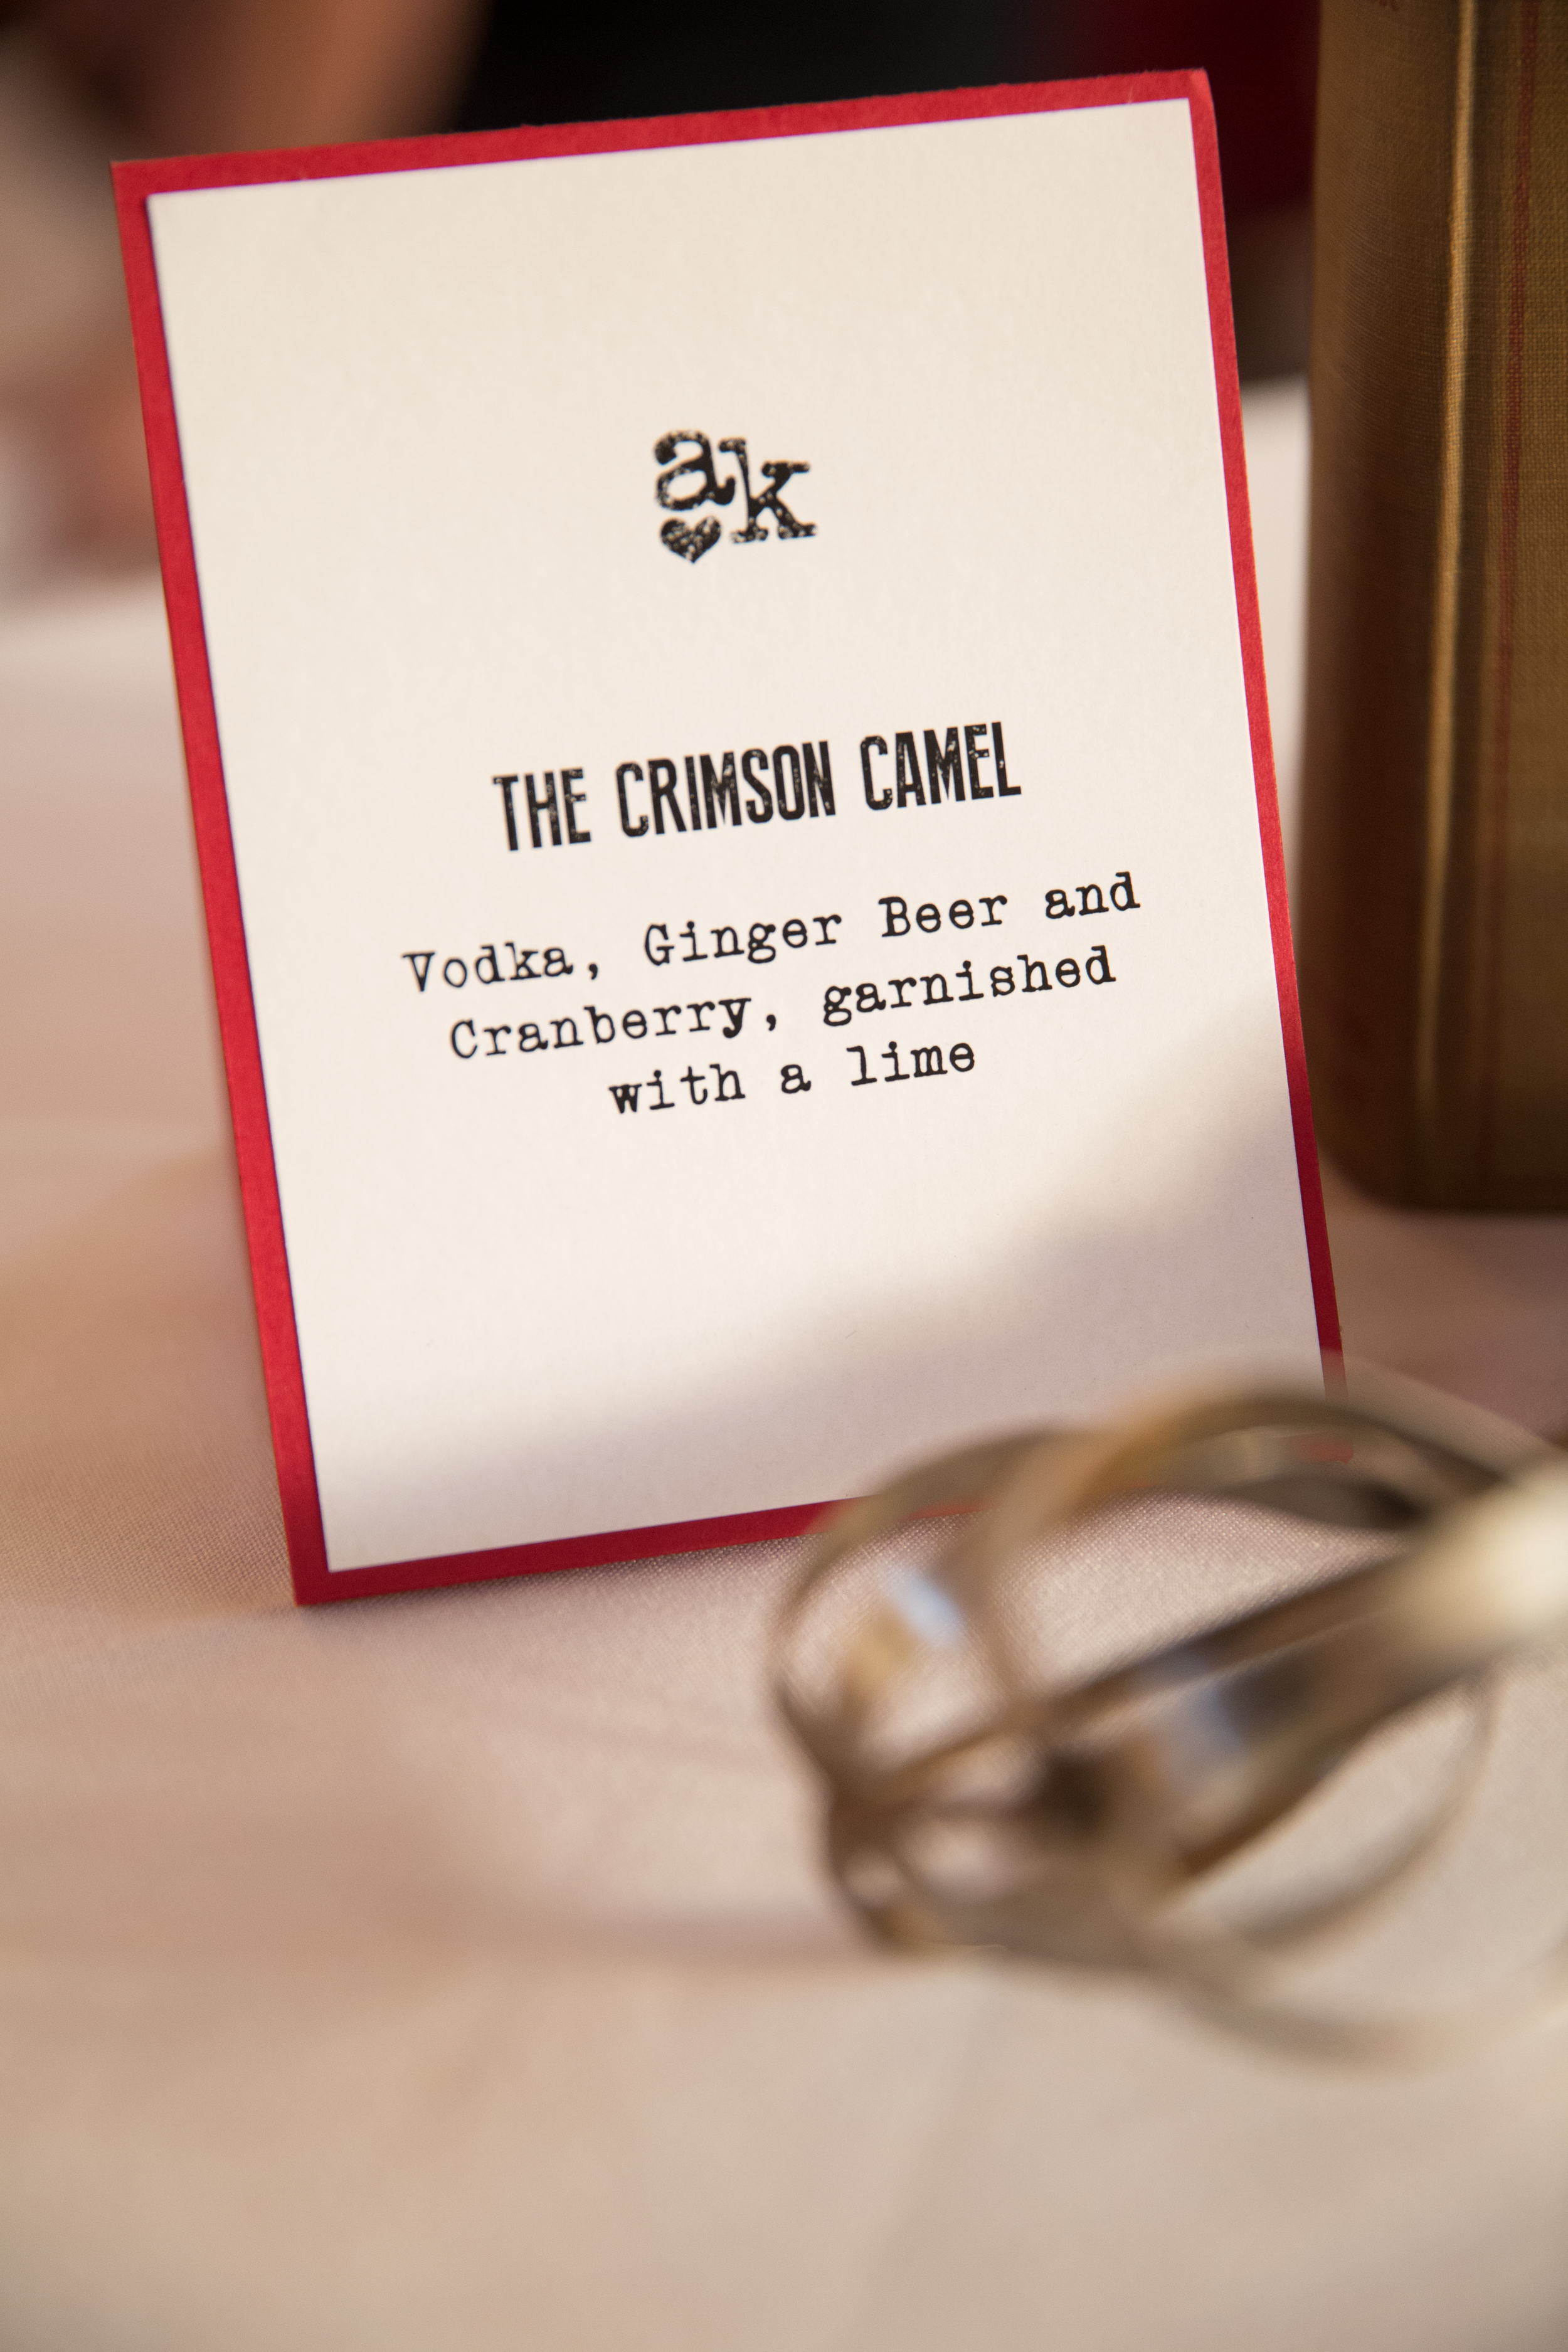
The cocktail hour was held in a room off the main hall, and was pretty much filled to capacity with our family and friends. We made up a signature cocktail, The Crimson Camel; a twist on a Moscow Mule that represented our two Alma Maters (the Harvard Crimson and the Connecticut College Camels)
For our favors, we bought spice jars from World Market and filled them with our Rotio spice blend for our guests to use in their own kitchens. I designed tags for the front that served as place cards, and a small hang tag with recipe suggestions. Anthony's Dad built us a giant "spice rack" to display them, and I wrote on the kraft table runner, "Spice a dish with love and it pleases every palate" along with a little map of the tables.
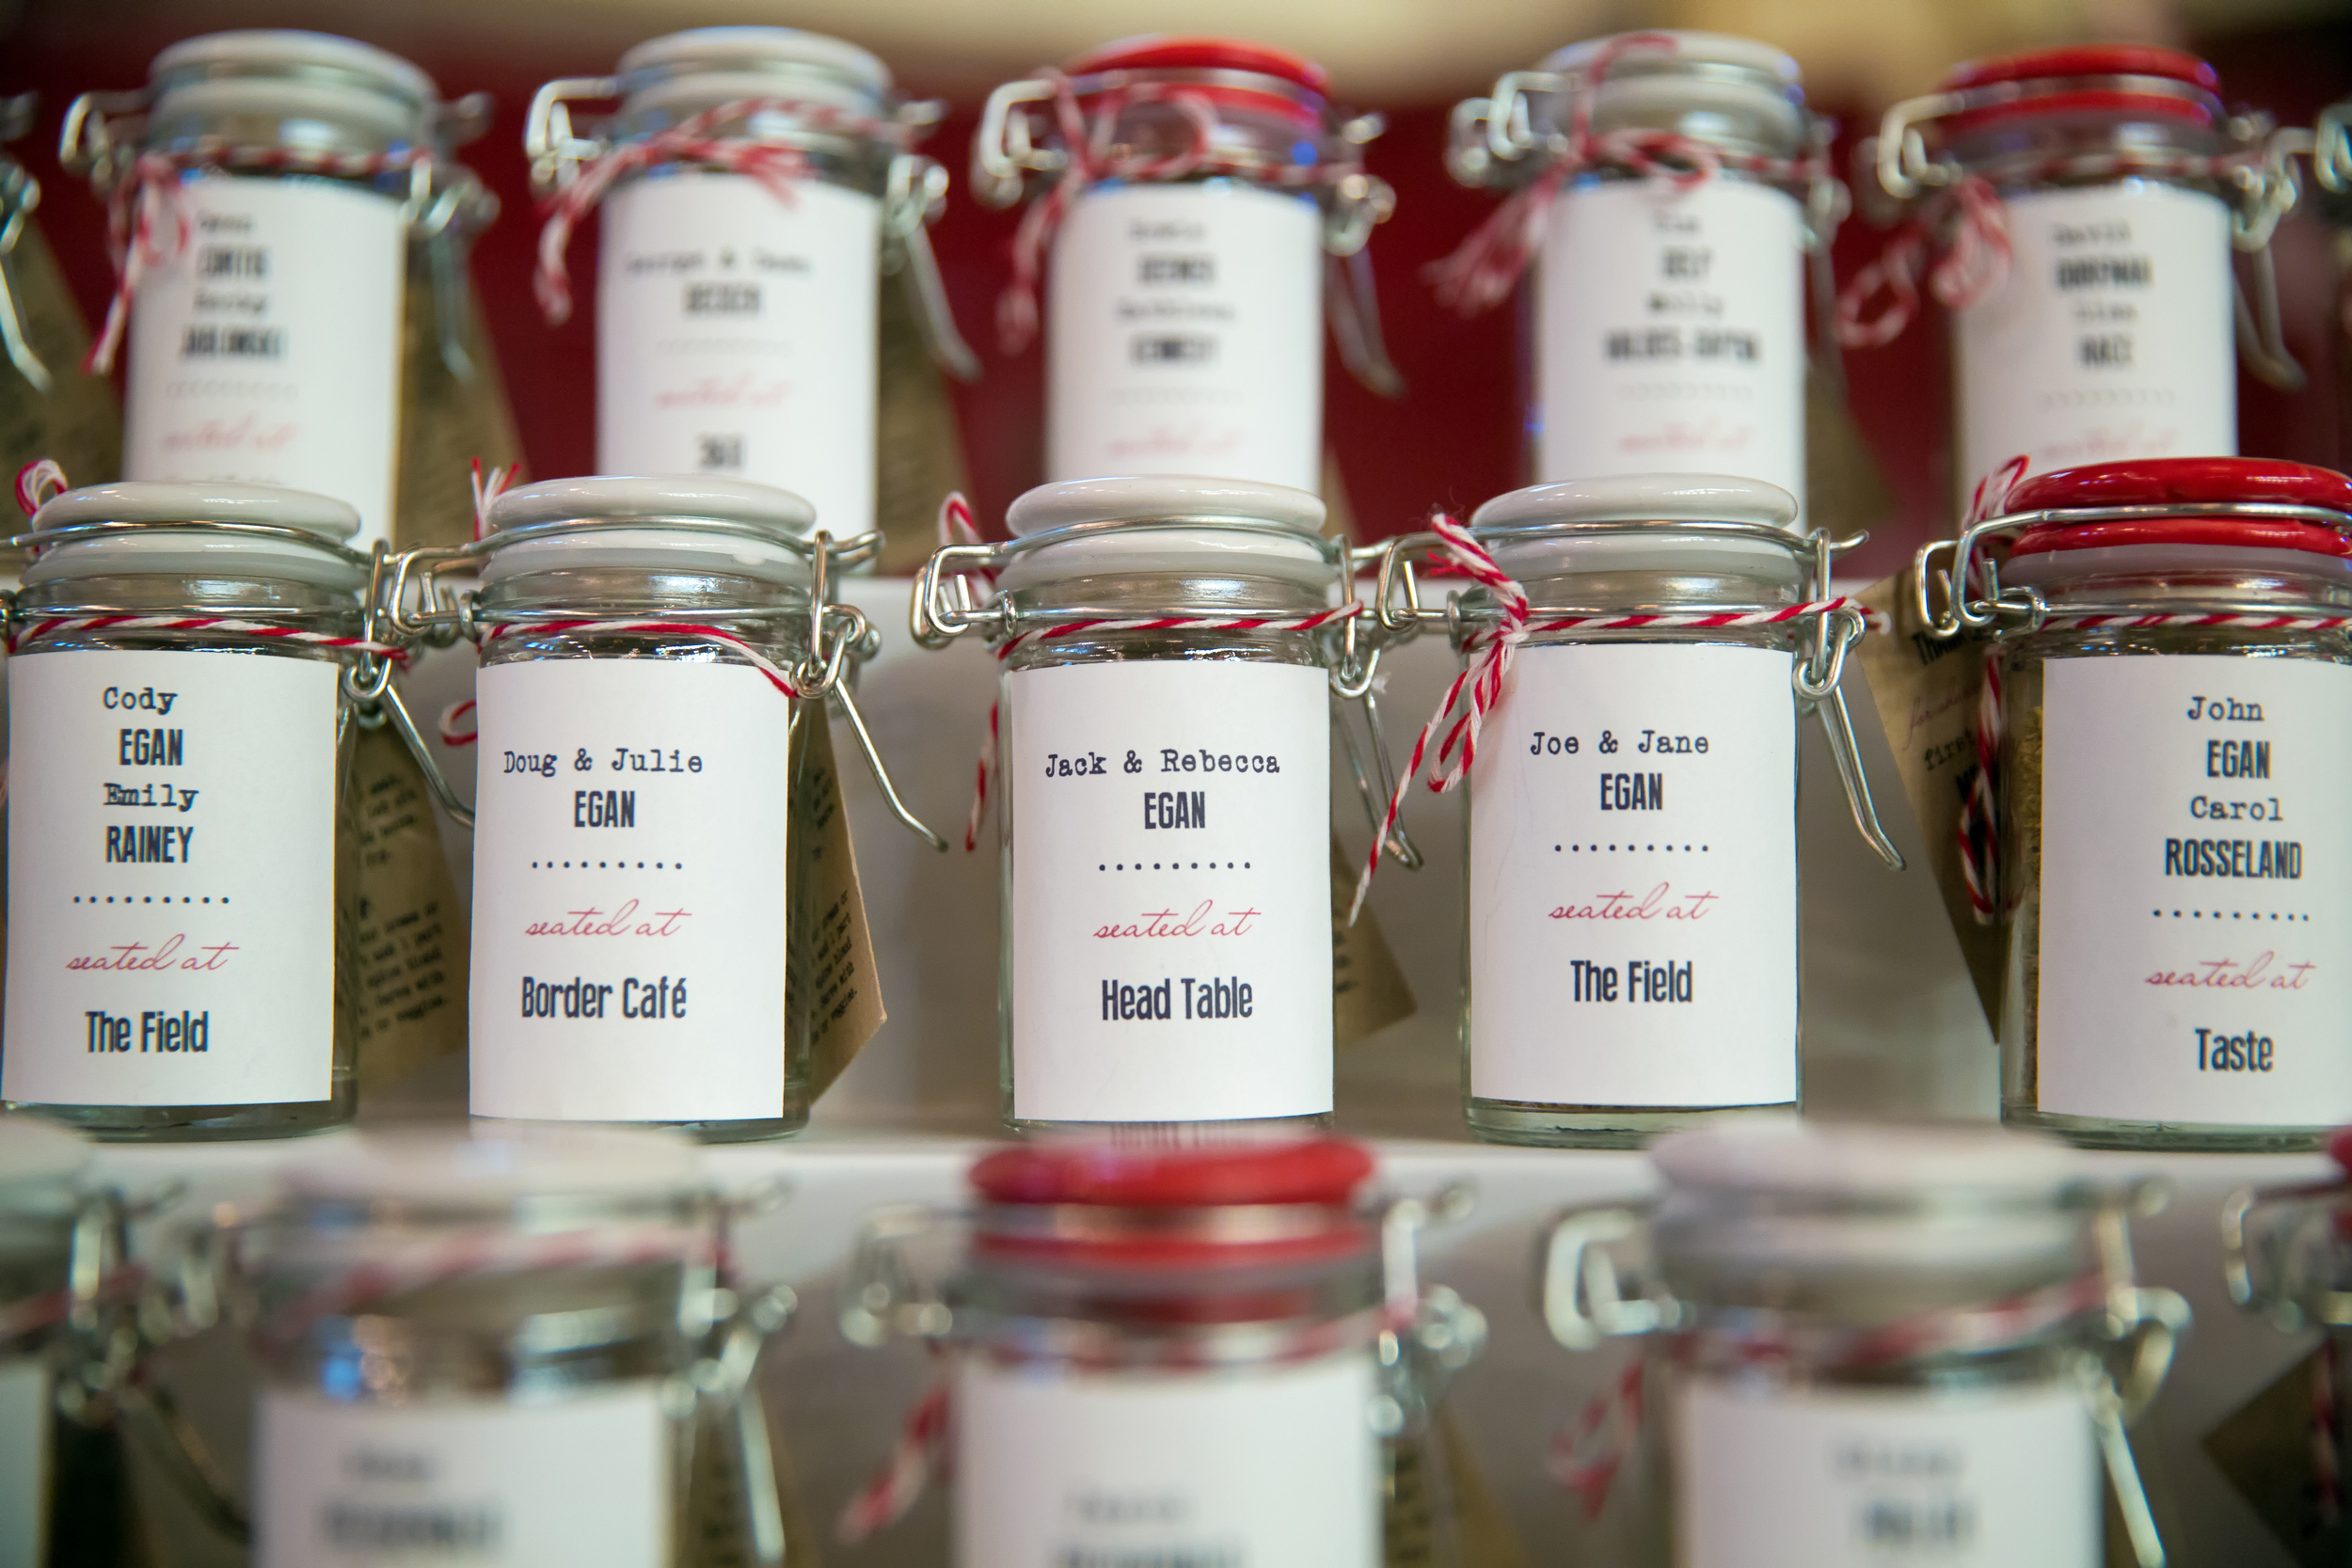


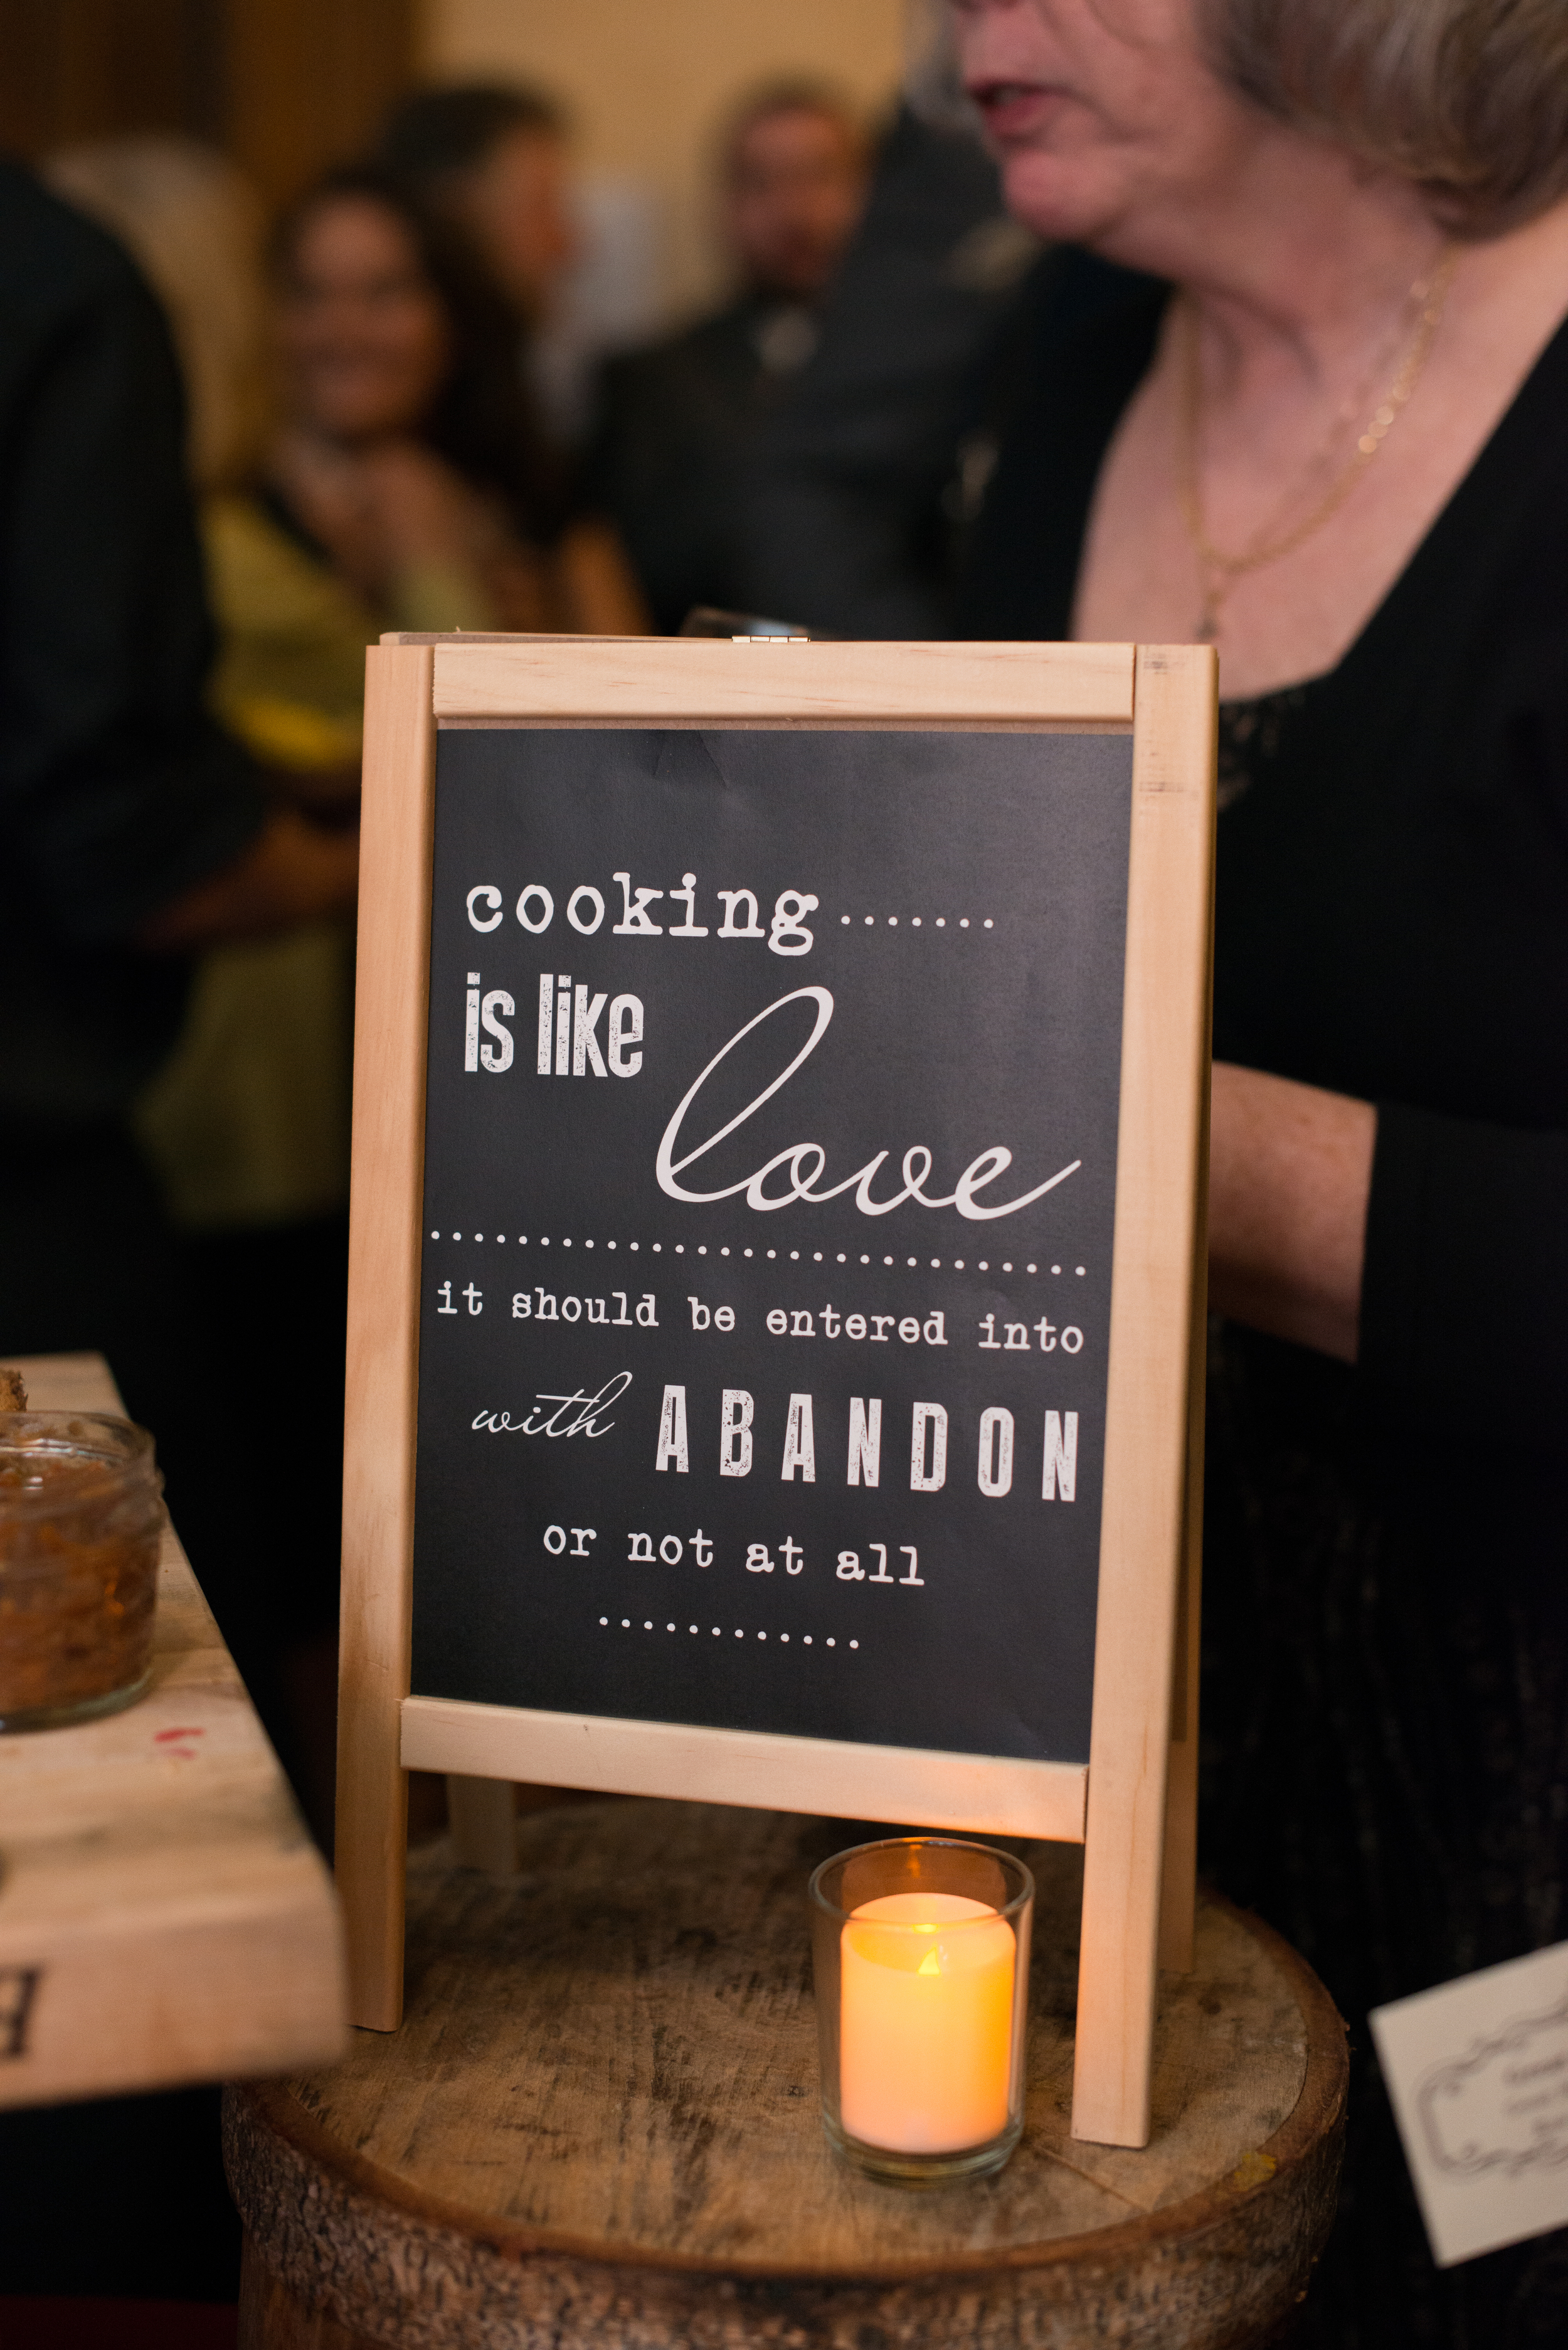
Each table was named after one of our favorite restaurants. Anthony built a miniature sandwich board for each table, and I created a "chalkboard" design for each one that told a little story of why each spot was important to us.
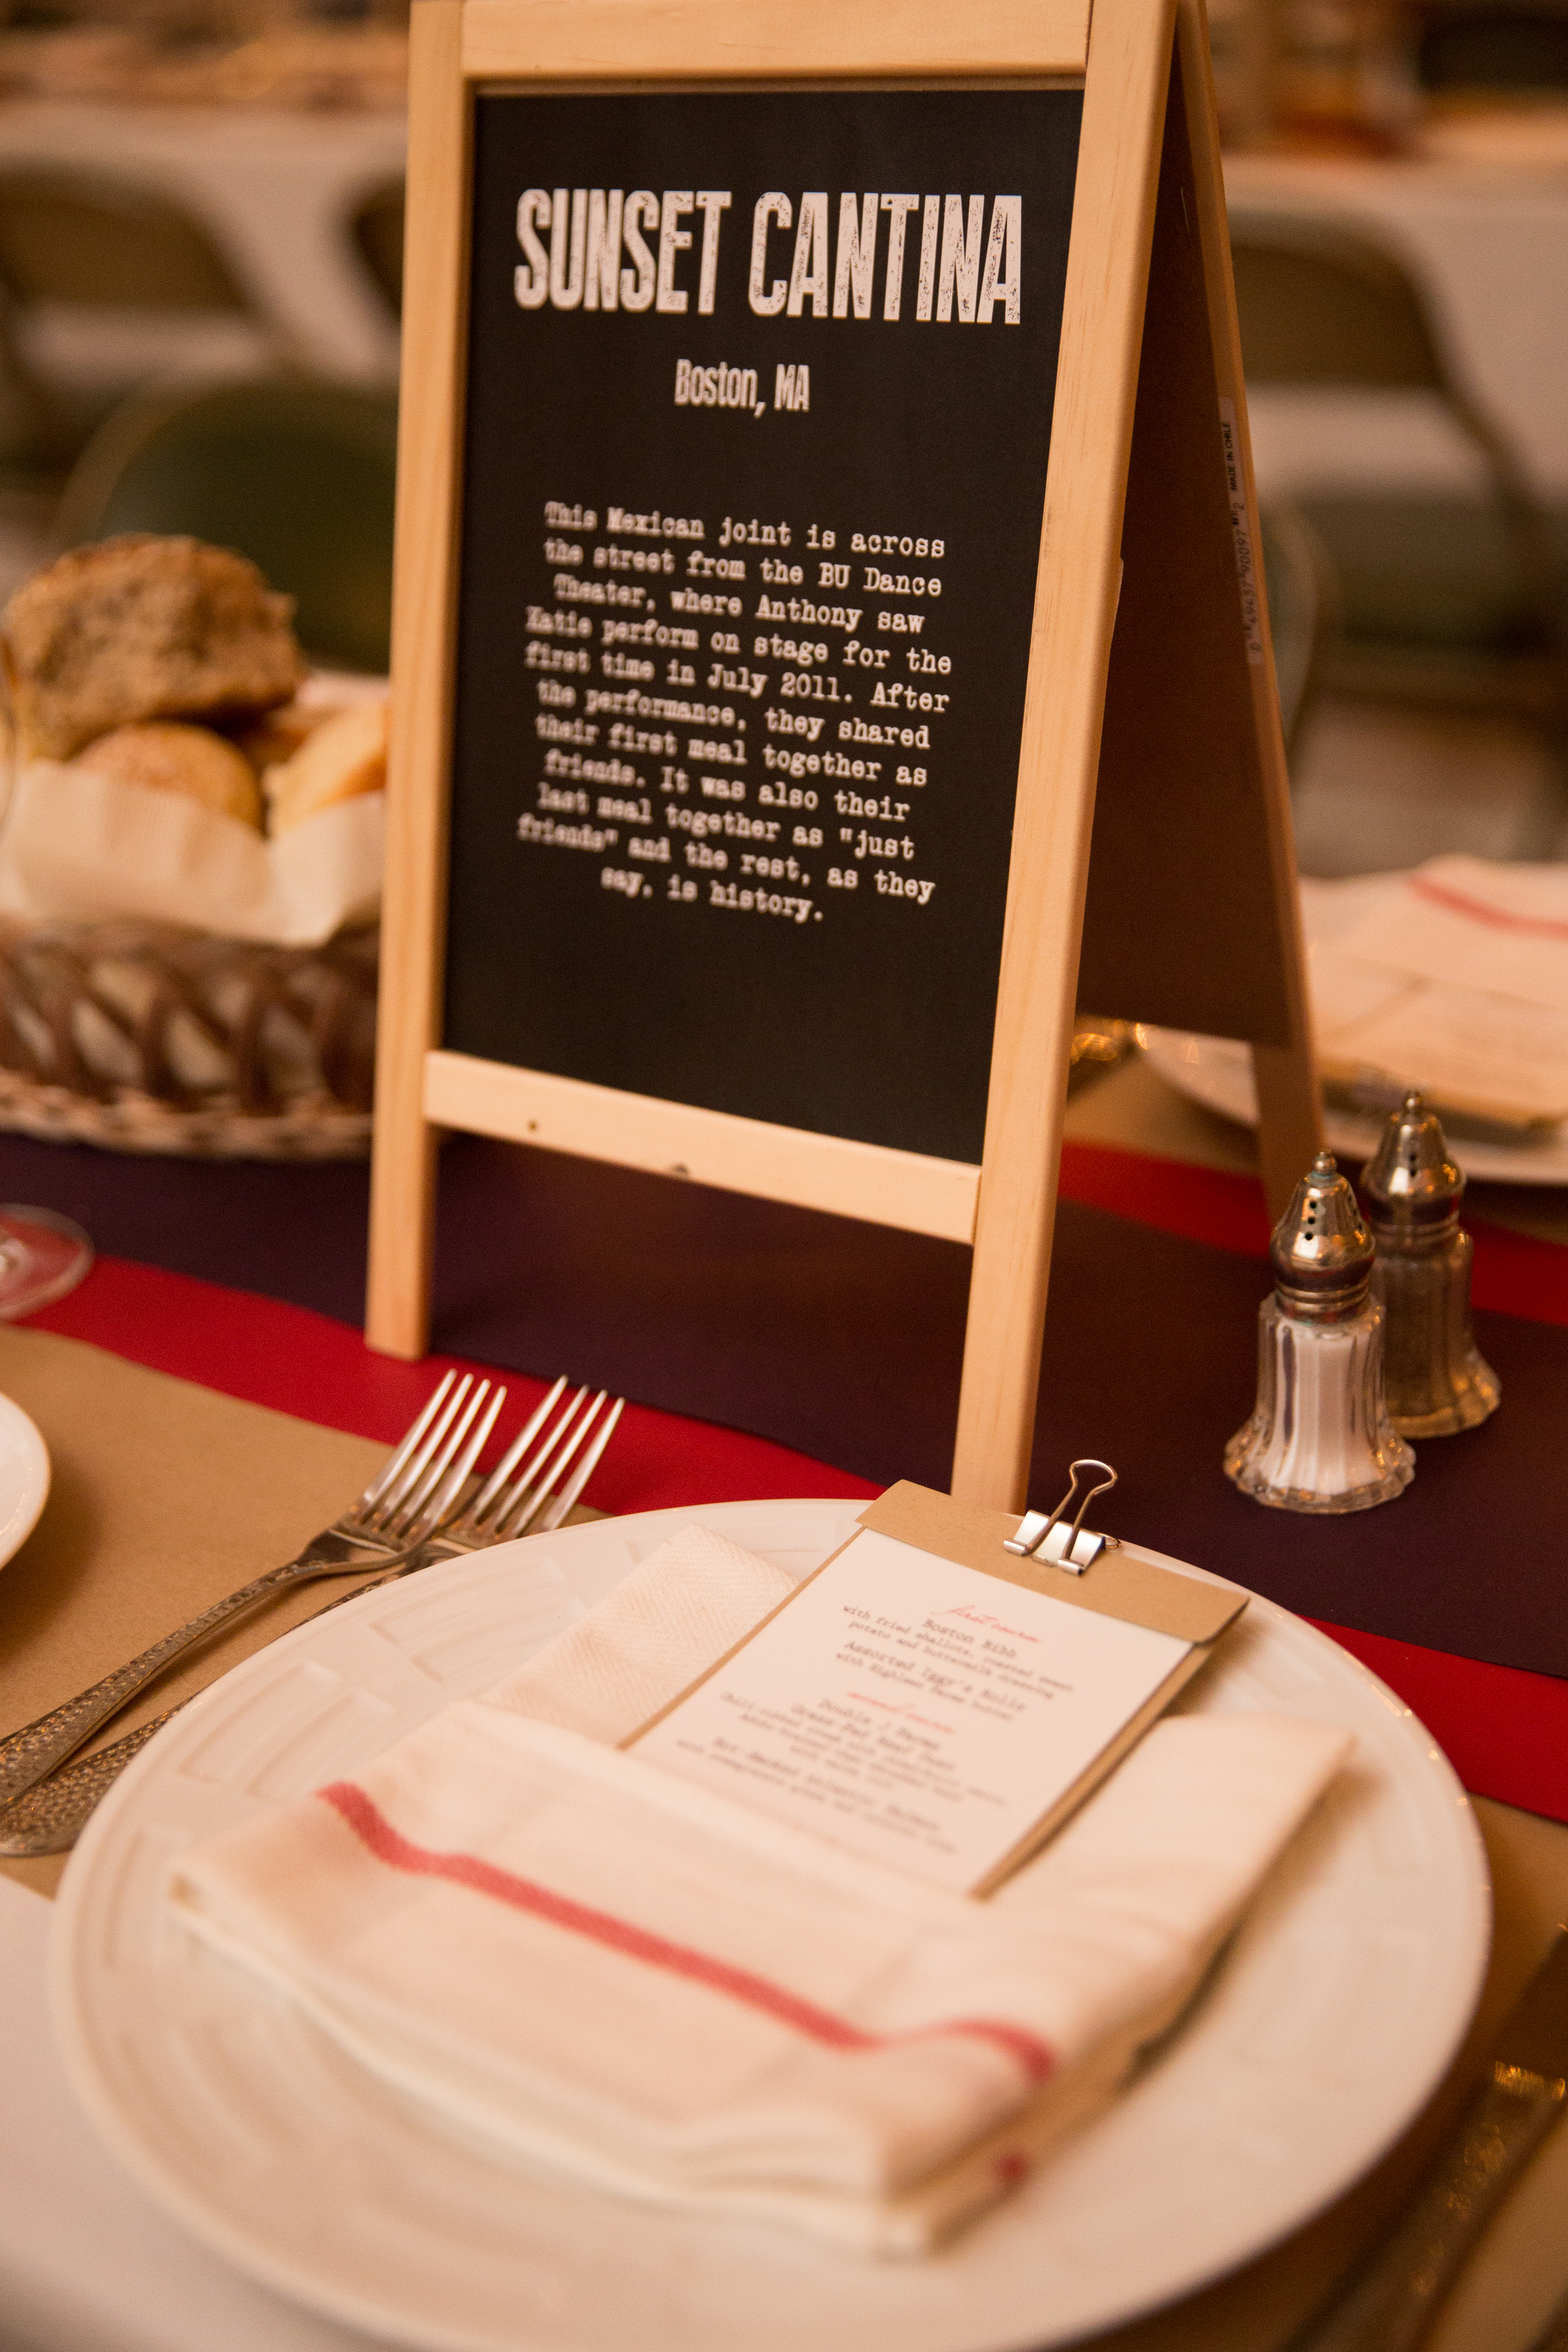
The menus and table settings were meant to mimic the trend in some of our favorite restaurants - a clipboard style card holding a simple utilitarian menu, tucked into a tea towel.

In keeping with the theme (and taking into consideration that we'd want it displayed proudly in the future), our "guestbook" was a collection of bamboo cutting boards.

There were a couple other pieces that didn't get photographed -- an adorable Rehearsal Dinner invitation with an embossed silverware emblem and checkered envelope liner, and Head Table placecards for our bridal party. Only now, after writing this post and seeing all these photos collected in one place, am I coming to terms without how much work I did on my own wedding! Holy moly! And this doesn't even include the flowers!
* E X P E R T * T I P *
If you don't work in this industry, I would strongly recommend NOT taking on this many DIY projects for your big day. (Hire an expert like me!) Because I do this for a living, I was able to tackle it all myself, and was very prepared with a timeline that started 11 months out and left me two weeks before my wedding to catch my breath and take it all in. I recommend taking on 2-3 major projects max, and I would also suggest choosing projects you can tackle well before your wedding date. The other tip I have for getting DIY projects done on time is to ask for RSVPs extra early. Our RSVP date was a full 2 months before our wedding. You won't have your final count for Welcome Bags, Favors, Placecards, Menus and Programs until you have your RSVPs back, and if you have a bigger wedding (ours could have swung 100 people in either direction!) you'll want some breathing room.